
Motorcycle Training Videos – Ride Like A Pro
The staff here at HOT BIKE seems to get asked all the time (usually by first-time or beginner riders) about how to handle the bigger bikes we test-ride or own. Well, since we have a lot of riding time under our belts it may seem easy to us, but we can always learn some new riding tricks. We also figured that our readers could use a few riding tips as well.
We came across a series of videos called Ride Like a Pro; the same company also offers a new title, Ride Like A Pro IV, as well as Serving the Mean Streets and Ride Like Pro for the Ladies. These videos show simple riding techniques that allow motor officers to handle the heaviest motorcycles with ease. The instructor in the video is Jerry “Motorman” Palladino, who has been a motor officer for more than 20 years and has seen it all out on the road. Jerry felt that he needed to bring a few of the riding skills he’d learned to average riders to help them improve their skills and confidence.
There are three main techniques that Jerry covers. The first is the “friction zone”-where the clutch is somewhere between all the way in and all the way out. Jerry shows how to find the sweet spot of the clutch called the friction zone. The second technique covers working the rear brake; when in a slow-speed turn, never use the front brake, since it will pull you down to the ground like a magnet. The third technique is called “head and eyes.” The idea is to turn your head and eyes in the direction you are going to turn; this will get your hands to turn the bike in correct direction as you are going into the turn. With these three basic techniques in mind, Jerry takes you out to a parking lot and then shows how to apply them.
After watching this video, we can say that even though we’ve been riding for a long time, we still picked up some new tips and a few techniques. We guess you can teach an old dog new tricks.
The technique covered is the slow race exercise; the purpose of this is to get you familiar with riding the bike in the friction zone while at the same time applying pressure to the rear brake. It will let you feel the bike to find the gray area between completely open and completely closed. With a little pressure to the rear brake as you find the friction zone, the bike should rev up without it leaping ahead. At the same time Jerry tells you to keep the bike under 5 mph, and don’t let the clutch out all the way. If you do, the slightest movement of the throttle will cause the bike to surge forward.
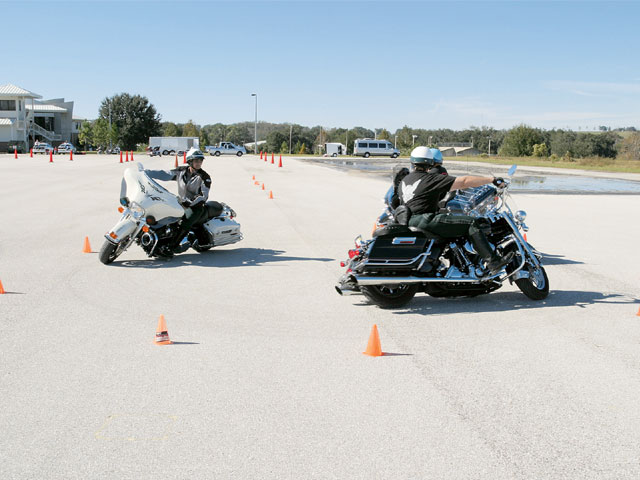
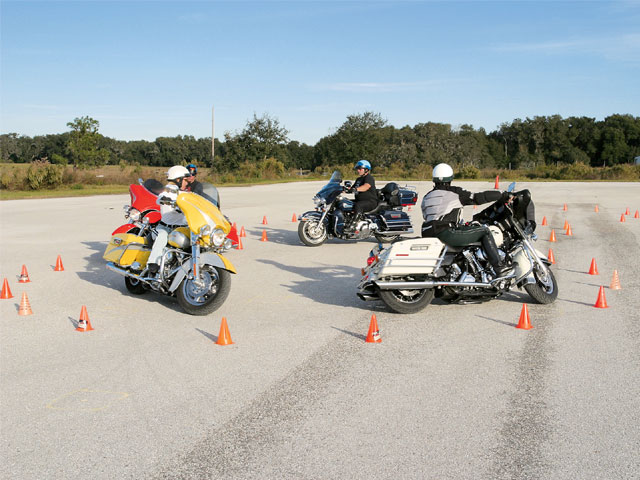
Next comes the slow cone-weave exercise. Jerry sets up six cones in a straight line and spaces them about 12 feet apart. The idea is to weave through the cones while in the friction zone and apply light pressure to the rear brake, the whole time keeping your head and eyes up and focusing about 6 feet above the last cone. Allow the motorcycle to lean from side to side as you maneuver through the cones. Use your peripheral vision to keep track of where you are in the cones so that you don’t look down.
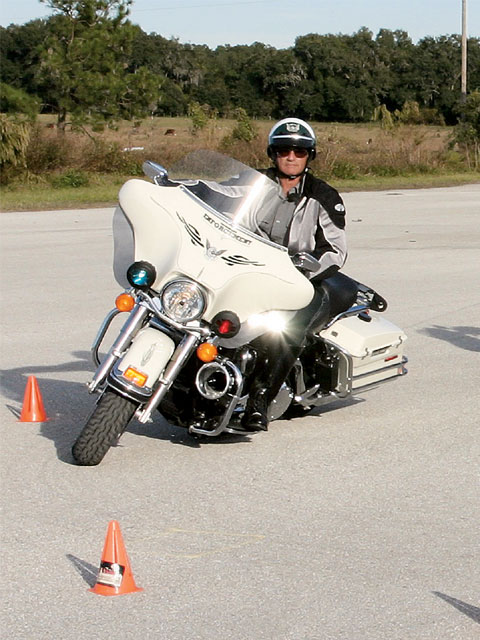
The circle exercise will help you get over the fear of leaning your bike, as well as assisting you in learning the lean limit. Most riders don’t know just how far over they can lean their bikes. Jerry places the cones to make a circle about 24 feet in diameter. The trick is to enter the circle with your front tire alongside the cone and then track beside it, using all the space available. Keep your eyes and head up and looking in the direction of the cones. You can have a person stand in the center of the circle to help keep your eyes up and on them. As you make the circle, Jerry then tells you to tighten up your circles and lean the bike farther and farther in. Eventually you’ll be able to make a full lock turn and scrape a circle in the ground with your floorboard. Practicing this exercise in both directions will get you familiar with both sides of the bike.
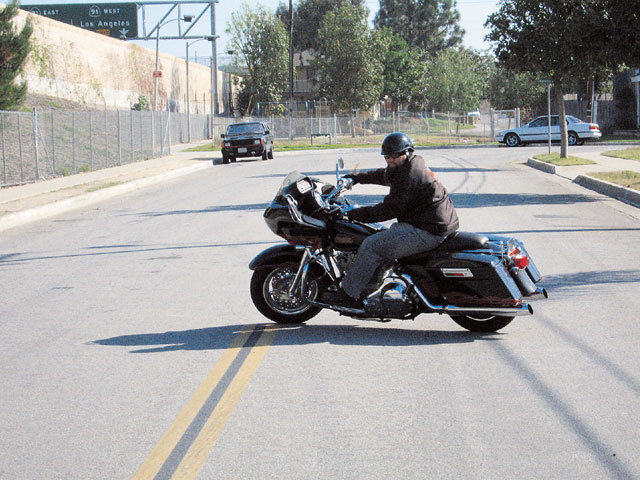
With the U-turn exercise, the trick is to avoid focusing on the opposite side from where you’re trying to go. As you pull into the allotted space, pick a pivot point. The pivot point is where you want to place your front tire. If your U-turn is to the left, your pivot point should be as far to the right as possible. Once your front tire gets to the pivot point, snap your head and eyes as far around as you possibly can. You want to attempt to look over your shoulder the way an owl would. Stay in the friction zone with pressure on the rear brake the entire time the bike is leaning. Remember, even a small glance at the opposite side of the lane will put you a foot or two in that direction.
The last thing to practice is your emergency braking skills. You do not need to set up cones. Starting at a slow speed, practice your braking to keep from locking up the wheels. Remember, 70 percent of your braking force is in the front brake. If you do lock up your brake, keep it locked until you come to a complete stop. Remember to keep your head and eyes up, then release the brake immediately and re-apply pressure. Try to remember to downshift as you brake. With practice, you should be able to stop your bike at any speed safely without losing control of the bike’s rear tire. As with all of the other exercises covered here, the only way to do these safely is to practice.


