
Layin’ Lines | DIY Pinstriping Basics

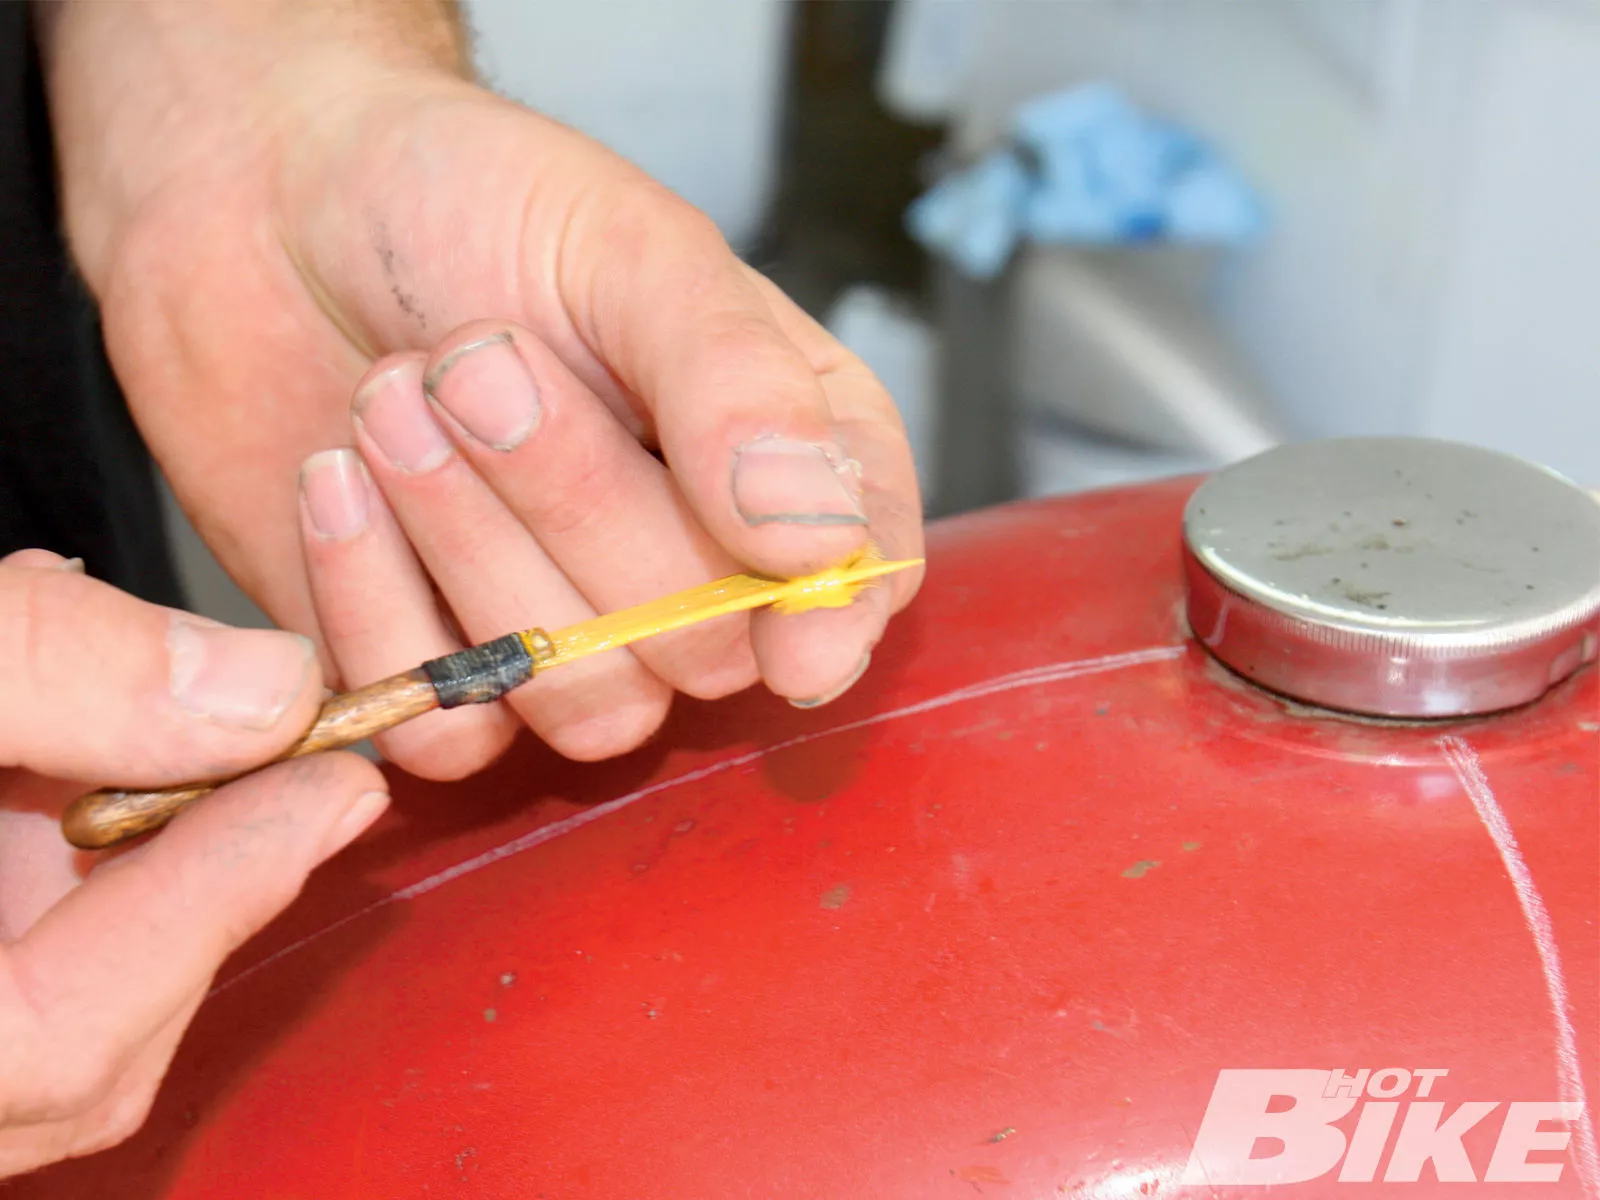
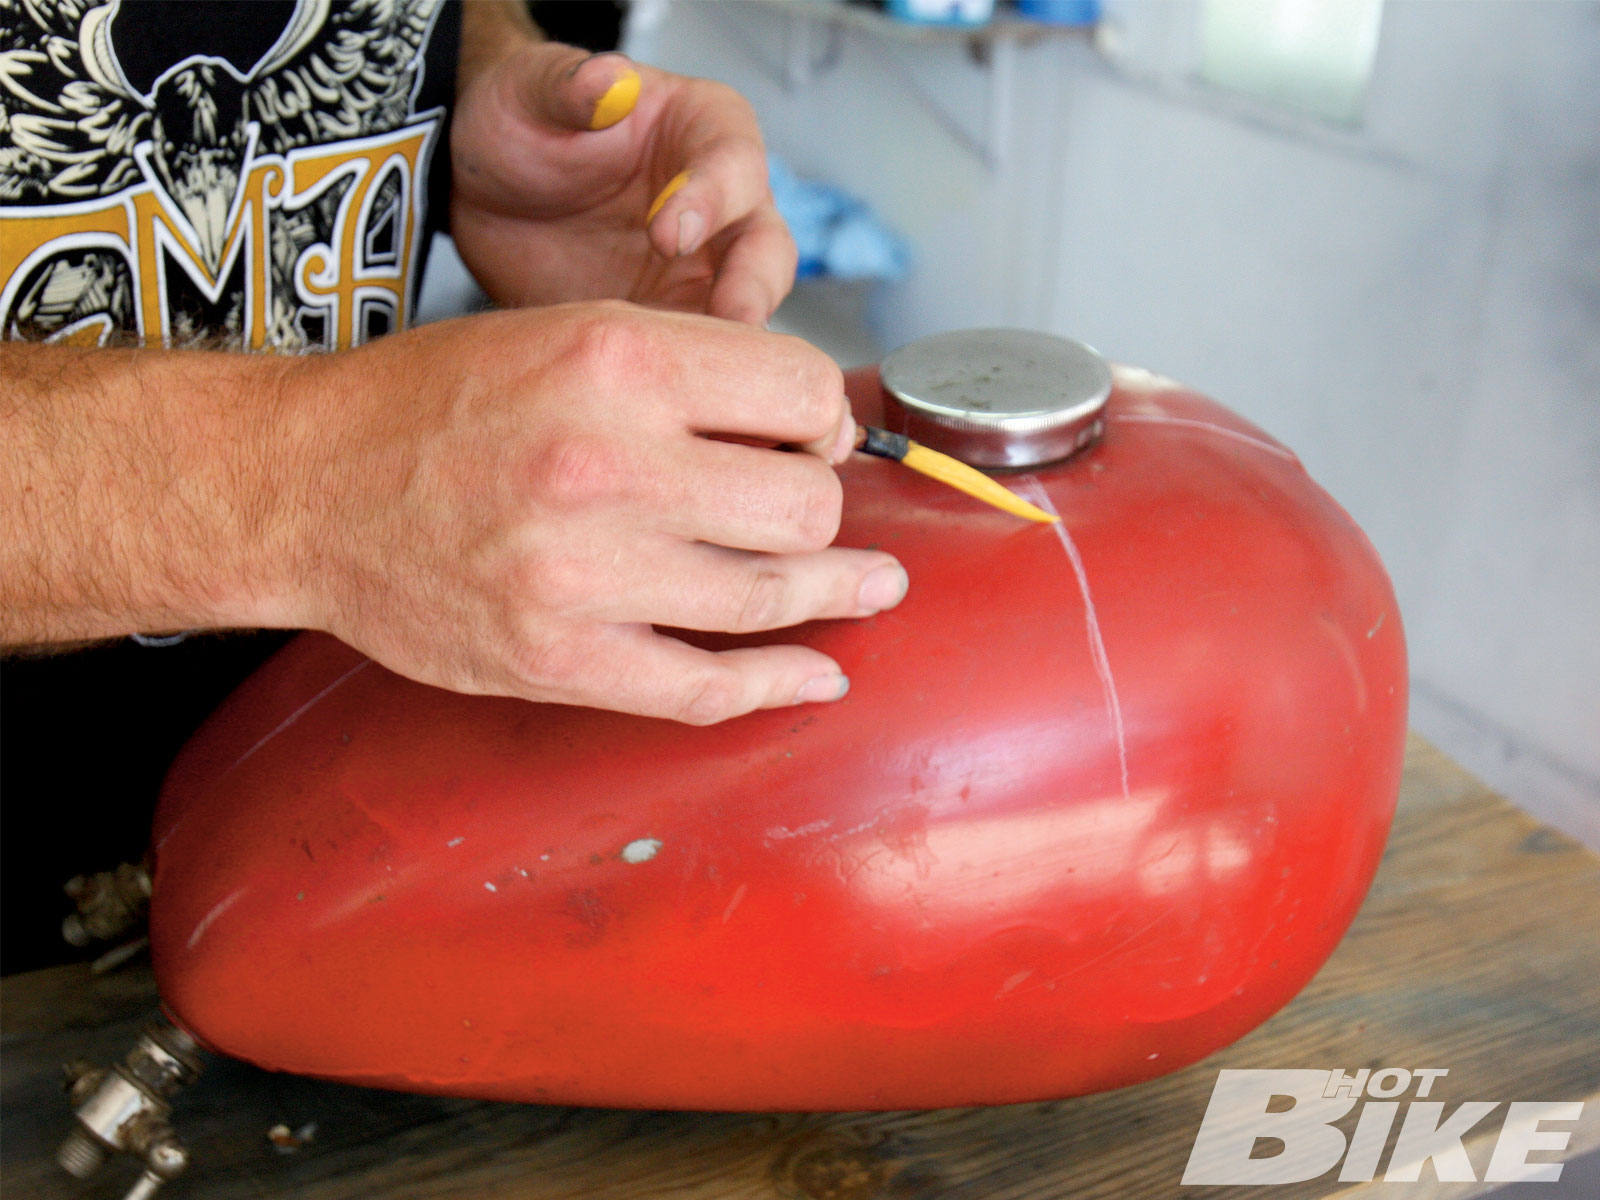
01. Loading the brush
Saturate the tuft of the brush with paint. Then work the paint into the tuft by running it back and forth on your pallet until the excess paint is removed.
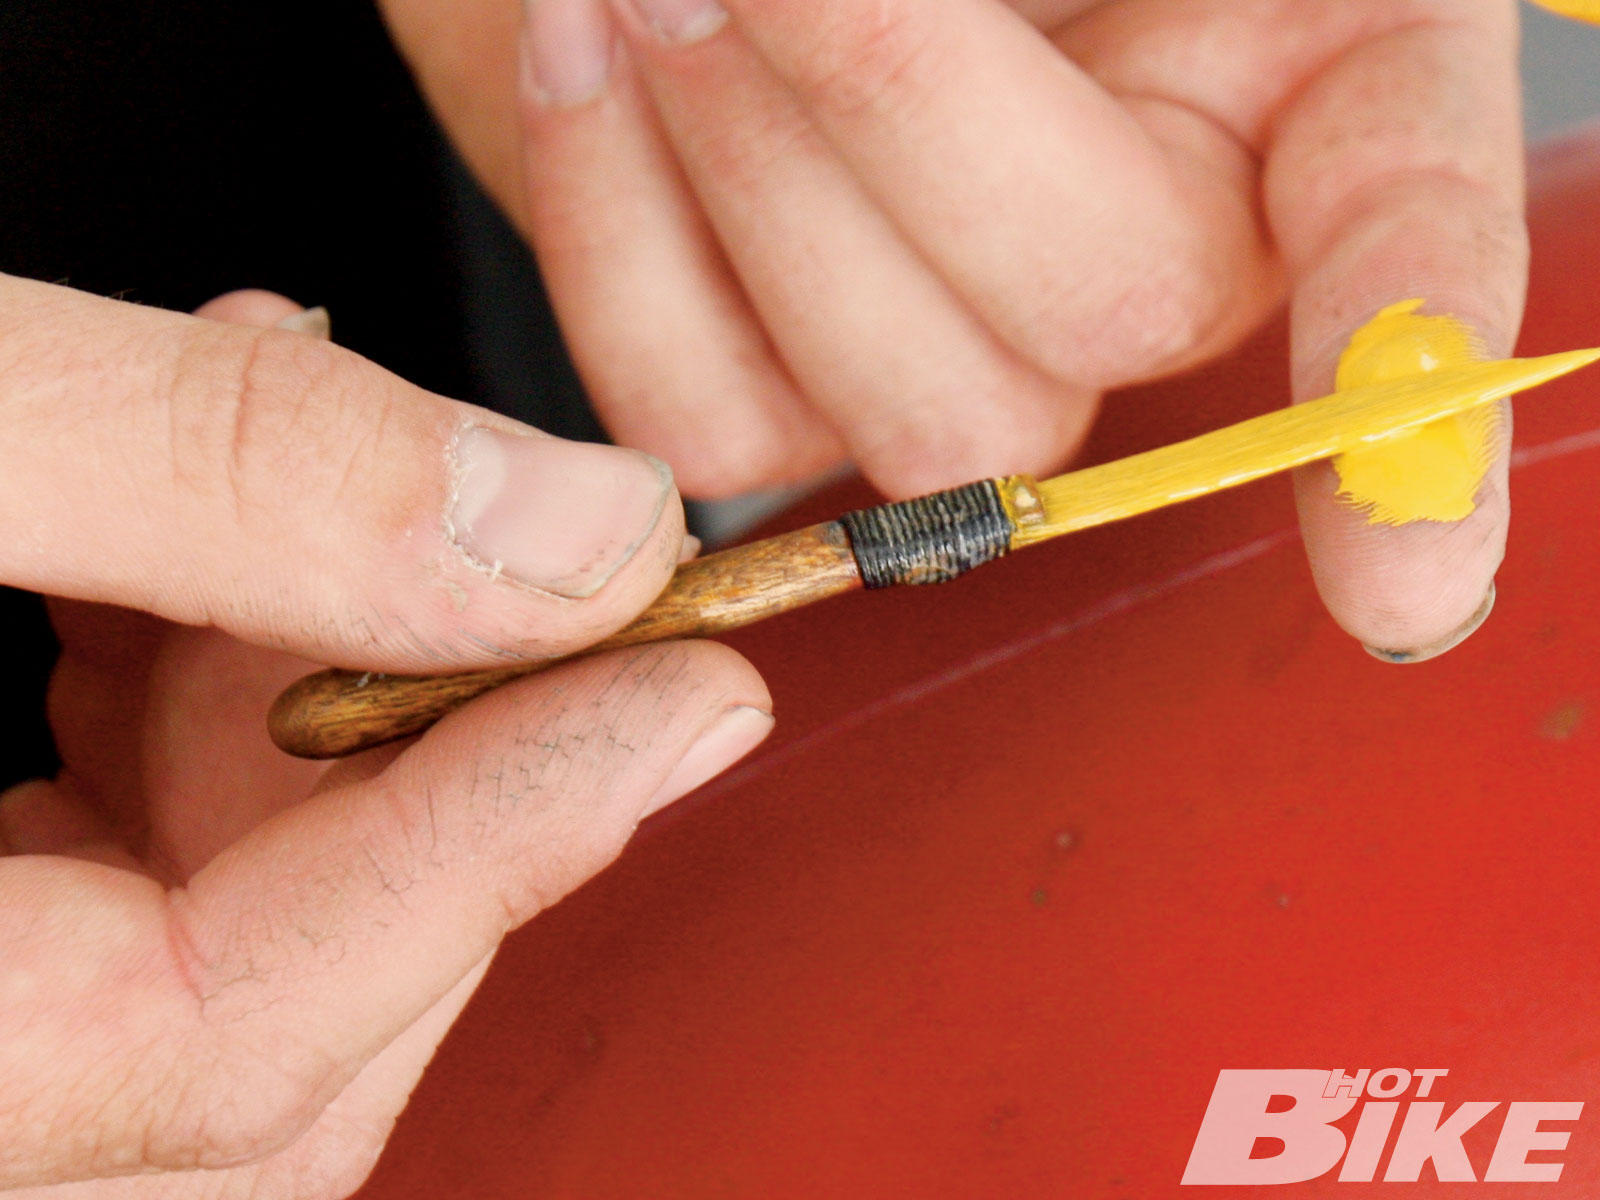
02. Grip
Everyone grasps their brush a different way, but the rule of thumb is to at first hold it between your thumb and forefinger on the flats of the brush handle.

03. Angle
Use your pinky and the side of your ring finger to support your hand. Angle the brush anywhere comfortable between 45 and 90 degrees and let ‘er rip. When pulling long lines, you may need your other hand to help steady the brush.
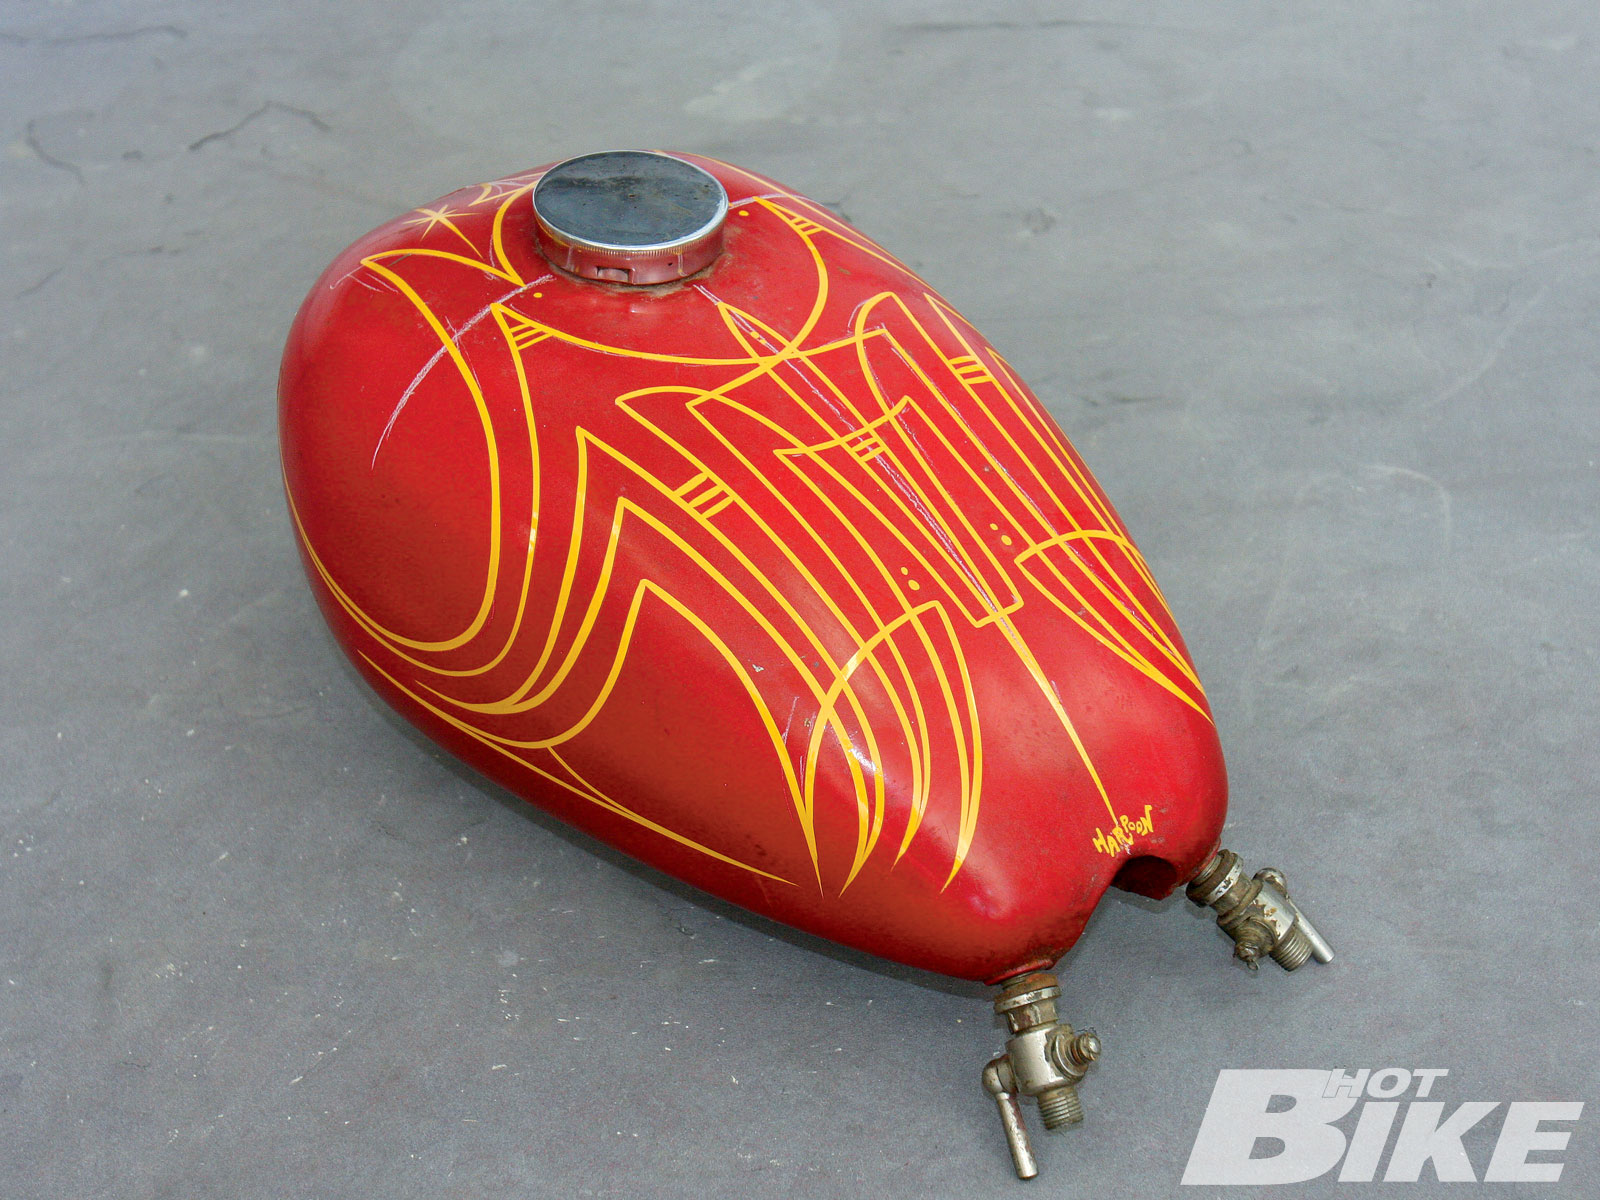
Yet another striping masterpiece done by following a few simple rules.
04. Pulling the first line will tell you a lot about what needs to be done with the amount of paint loaded and the physical pressure it takes to make a line. Practicing on glass is best due to its slickness and ease of reuse.
05. To produce a good curved line, you will have to pivot on one of your base fingers to make it happen. You’ll also need to swing your elbow as the line curves. Some stripers even move their whole body in unison to accomplish tricky curves.
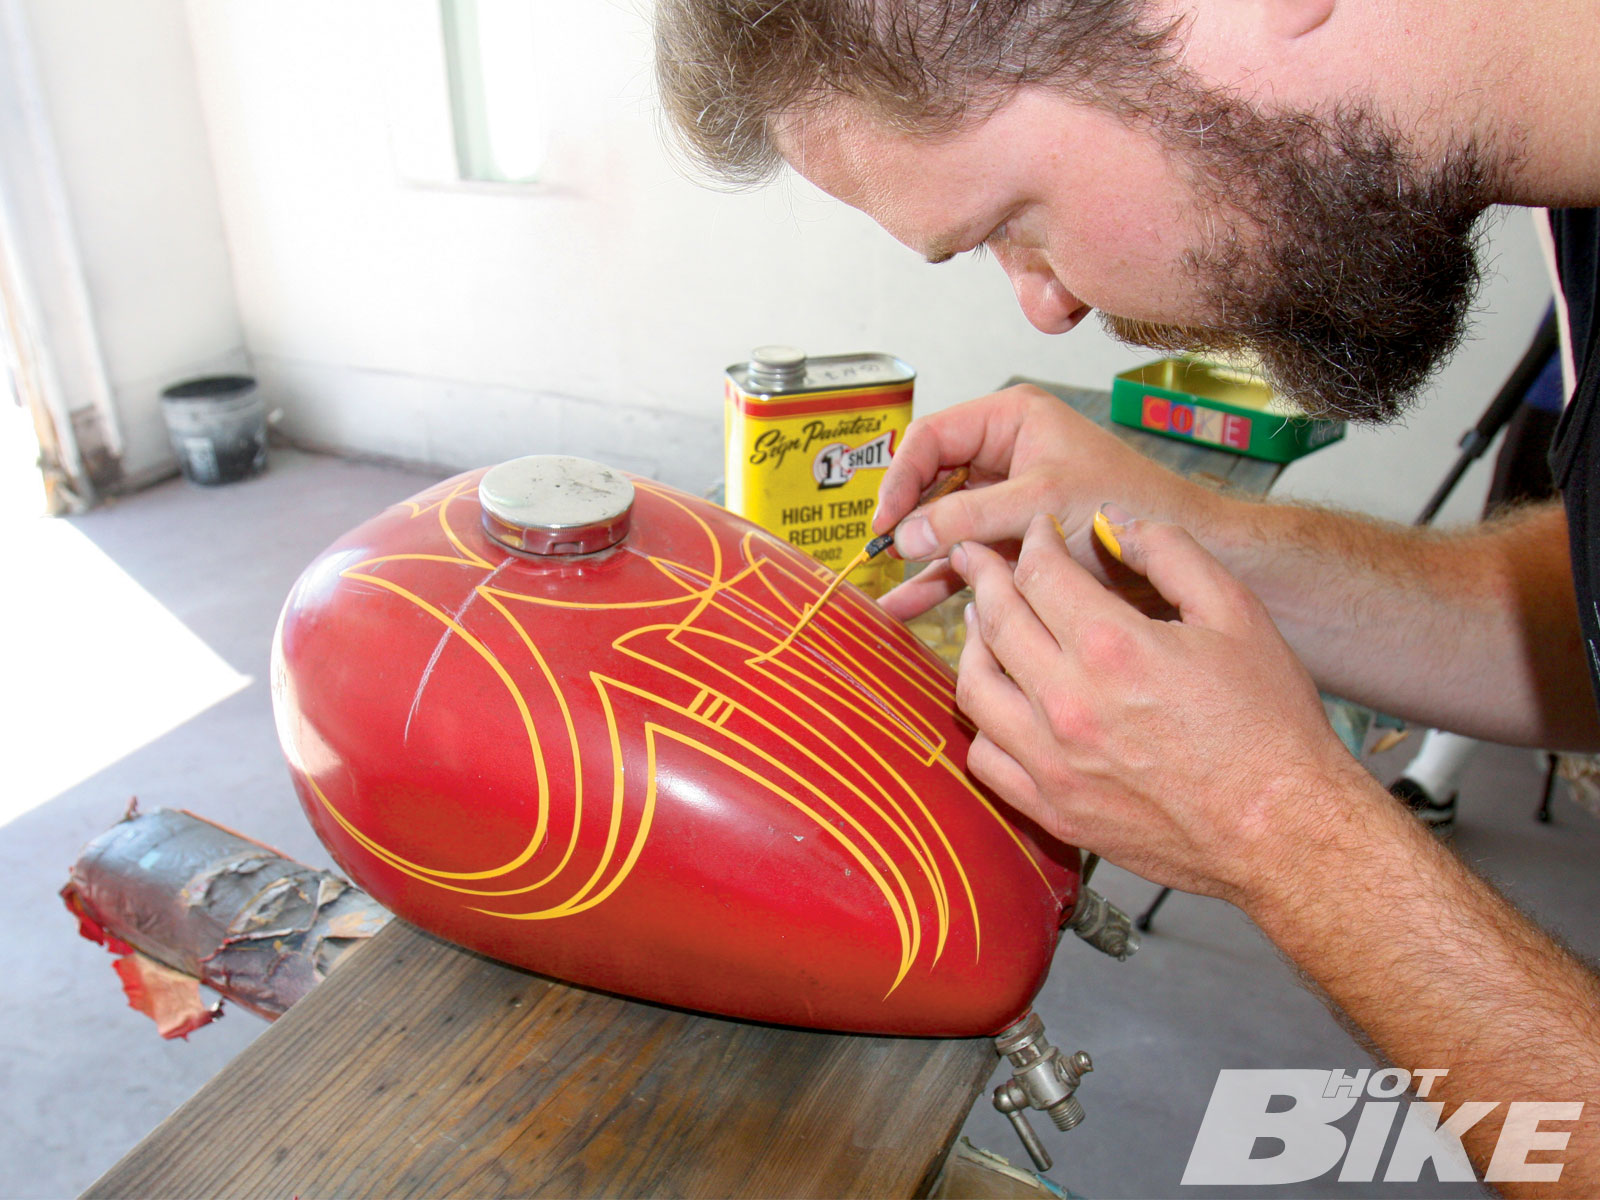
06. Many stripers, such as Harpoon, use a two-handed technique where one hand steadies the other. Practice makes perfect. Stripe everything you can get your hands on.
So, you want to follow in the legendary line-laying footstep’s of Von Dutch and Big Daddy Roth?
Well, were not going to lie to y’all. It’s a long road to be in the ranks of the pros and there is no crash course. It is going to take a lot of practice and tons of dedication for any beginner to create great designs while pulling straight lines.
Even if there is no other reason than wanting to see if you have the right stuff or not, we have amassed some guidelines and professional tips to get that brush in your hand and on your way to striping it yourself.
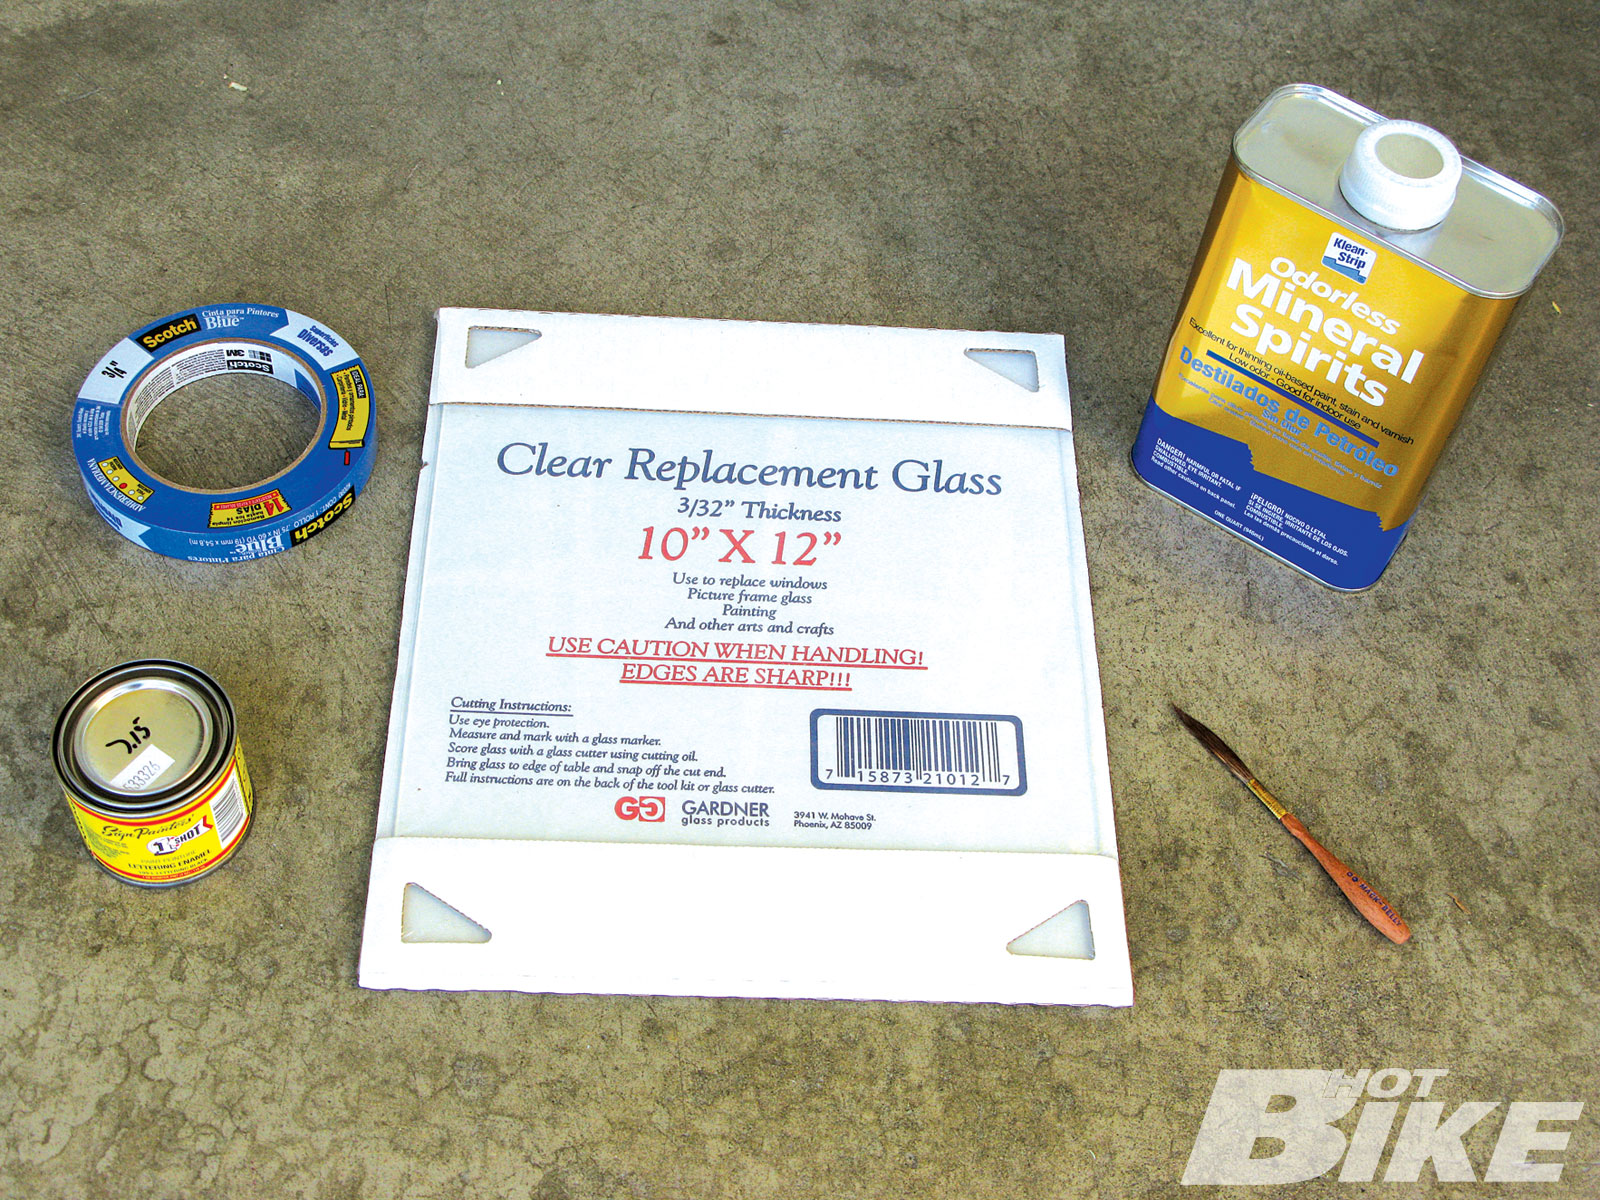
Supplies
Here is a list of the supplies to get you started
Pinstriping Brush
There are lots of pinstriping brushes on the market, but most pro pinstripers use a Mack Series 10. Mack Series 10 brushes are available in many sizes, but we would suggest starting out with a 00 due to the versatility of this size of brush. Once you have a good grasp of the 00 and its capabilities, you then can move onto other sizes.
Paint
1-Shot Sign Painter’s Enamel is also the pro’s choice for pinstriping. There may be other brands, which may be just as good, but when 99 percent of the pros use this brand, why bother using anything else to learn with?
Odorless Mineral Spirits
You might need to thin the paint out just a little depending on the weather or location you are pinstriping. Thinning the paint makes it flow better when in the act of striping.
Palette
Most pros use either a glossy-paged magazine or their own hand to “palette” the paint. The term palette is any surface used for holding, mixing, and reducing colors. Because the paint and reducer contain harsh chemicals known to cause cancer, to form a good habit we would suggest going the magazine route.
Practice Surface
Glass or Plexiglass (lexan) are great surfaces to begin on because even if you let the paint dry you can always remove it with a razorblade and start again. We also suggest practicing on other surfaces like your refrigerator, garage door, toolbox, pet monkey, or anything else that will stand still long enough to lay down some lines.
Brush Maintenance
After each use and after the brush is cleaned with mineral spirits, oiling the brush keeps any paint that wasn’t removed from drying out and destroying the brush. The pros suggest using 1-Shot’s oil because you can buy it just about anywhere you can find the paint.
The Basics
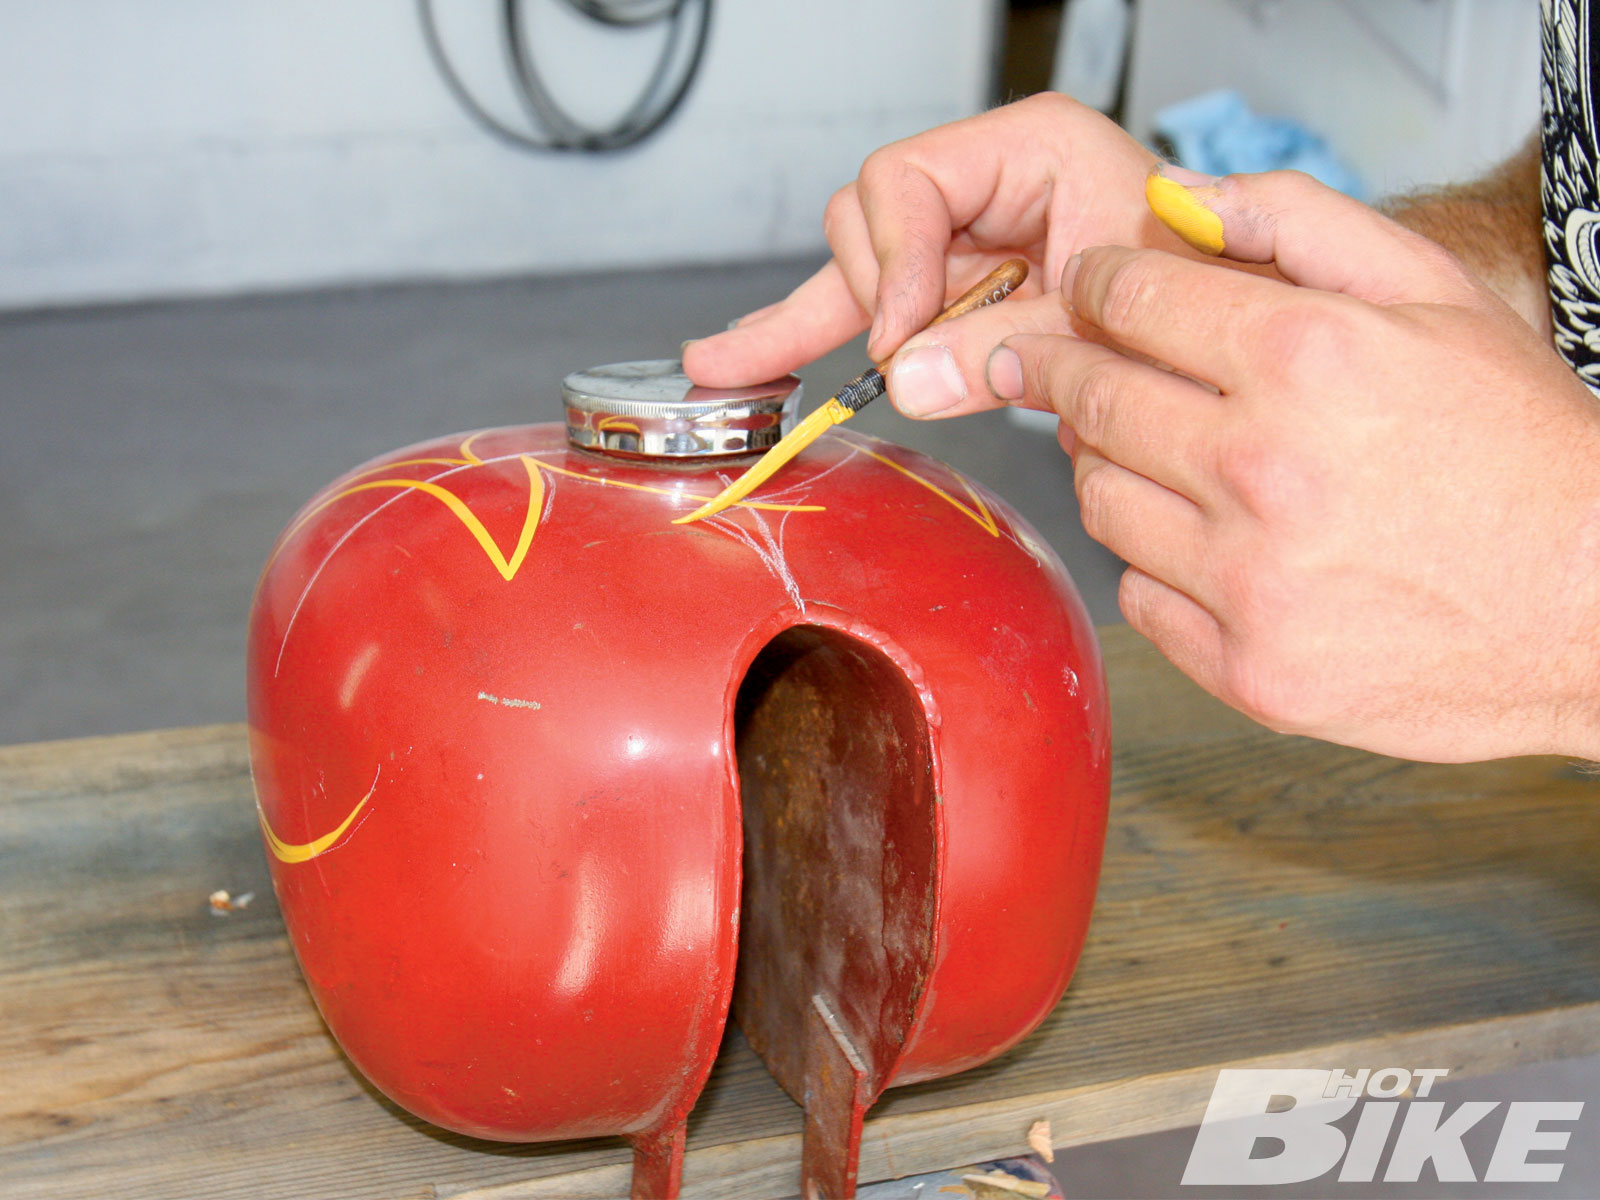
Here are some techniques to get you started. Our pal Harpoon agreed to show us how it’s done with an old Wassel tank we had laying around.
We asked a few hotshots of the pinstriping realm to give us some of their top suggestions for stripers who are just starting out.
Von Franco
_Franco is a cornerstone of the Kustom Kulture scene, and as a youngin’, striped beside both Von Dutch and Big Daddy Roth. He has made a living doing both pinstriping and painting his whole adult life.
You’re going to know if you have what it takes to pinstripe within 15 minutes of trying to do it.
Practice straight lines and circles for hours on a slick surface before moving onto anything trickier.
Hold your breath as you stripe. It will create steadier lines.
Practice on how to properly load your brush with paint. This is one of the most important things you can to do when learning._
The Harpoon
_This self-taught paint layer hit the top of the pinstriping ranks before he was even of legal age. He has floored bikers, car buffs, and veteran stripers with his contemporary style and fearless interpretations of classic designs.
Part of your practice should be sketching out ideas. Filling sketchbooks with your ideas will also show your design progression.
Tight turns and curves when you are beginning are especially difficult so you will have to work up to those before they are perfected.
Plan accordingly. The object, be it gas tank, toilet seat, or whatever, needs to be complemented by the pinstriping. Think about how your designs will best benefit the shape and look of the object you are to be painting.
Connect your corners without overlap. The biggest sin, besides throwing symmetry to the wind, is not connecting your corners. It shows laziness._
Andy Anderson
_Owning and operating Anderson design studio in Nashville, Tennessee, for more than 40 years, Anderson is a legendary motorcycle painter who knows a thing or two about pinstripng.
Try a few brushes to see what works best for you. Some work better at long line work than others. Some do better with design work and outlines. Brushes often need to be trimmed. Sometimes just a slight amount off the tip will do the trick.
After loading the brush with paint, dip it in your reducer, then palette the brush again on a piece of slick paper. I like the coated magazine pages to palette the brush.
When you are in the act of striping, you are looking for a slight drag to the brush with the paint loaded on it. As you gain experience, this process will become easier to control and you then can pull longer lines.
Don’t be afraid to pre-draw your designs and use them as patterns. Even us pros still do this!_
The Lowdown
Man Hours: As many as you can fit in a day
Difficulty: Intermediate to advanced
Aftermarket Parts Used: Brush, paint, mineral spirits, glass panel
Total Cost: $127.85
Sources
Coast Airbrush
(714) 635-5557
coastairbrush.com


