
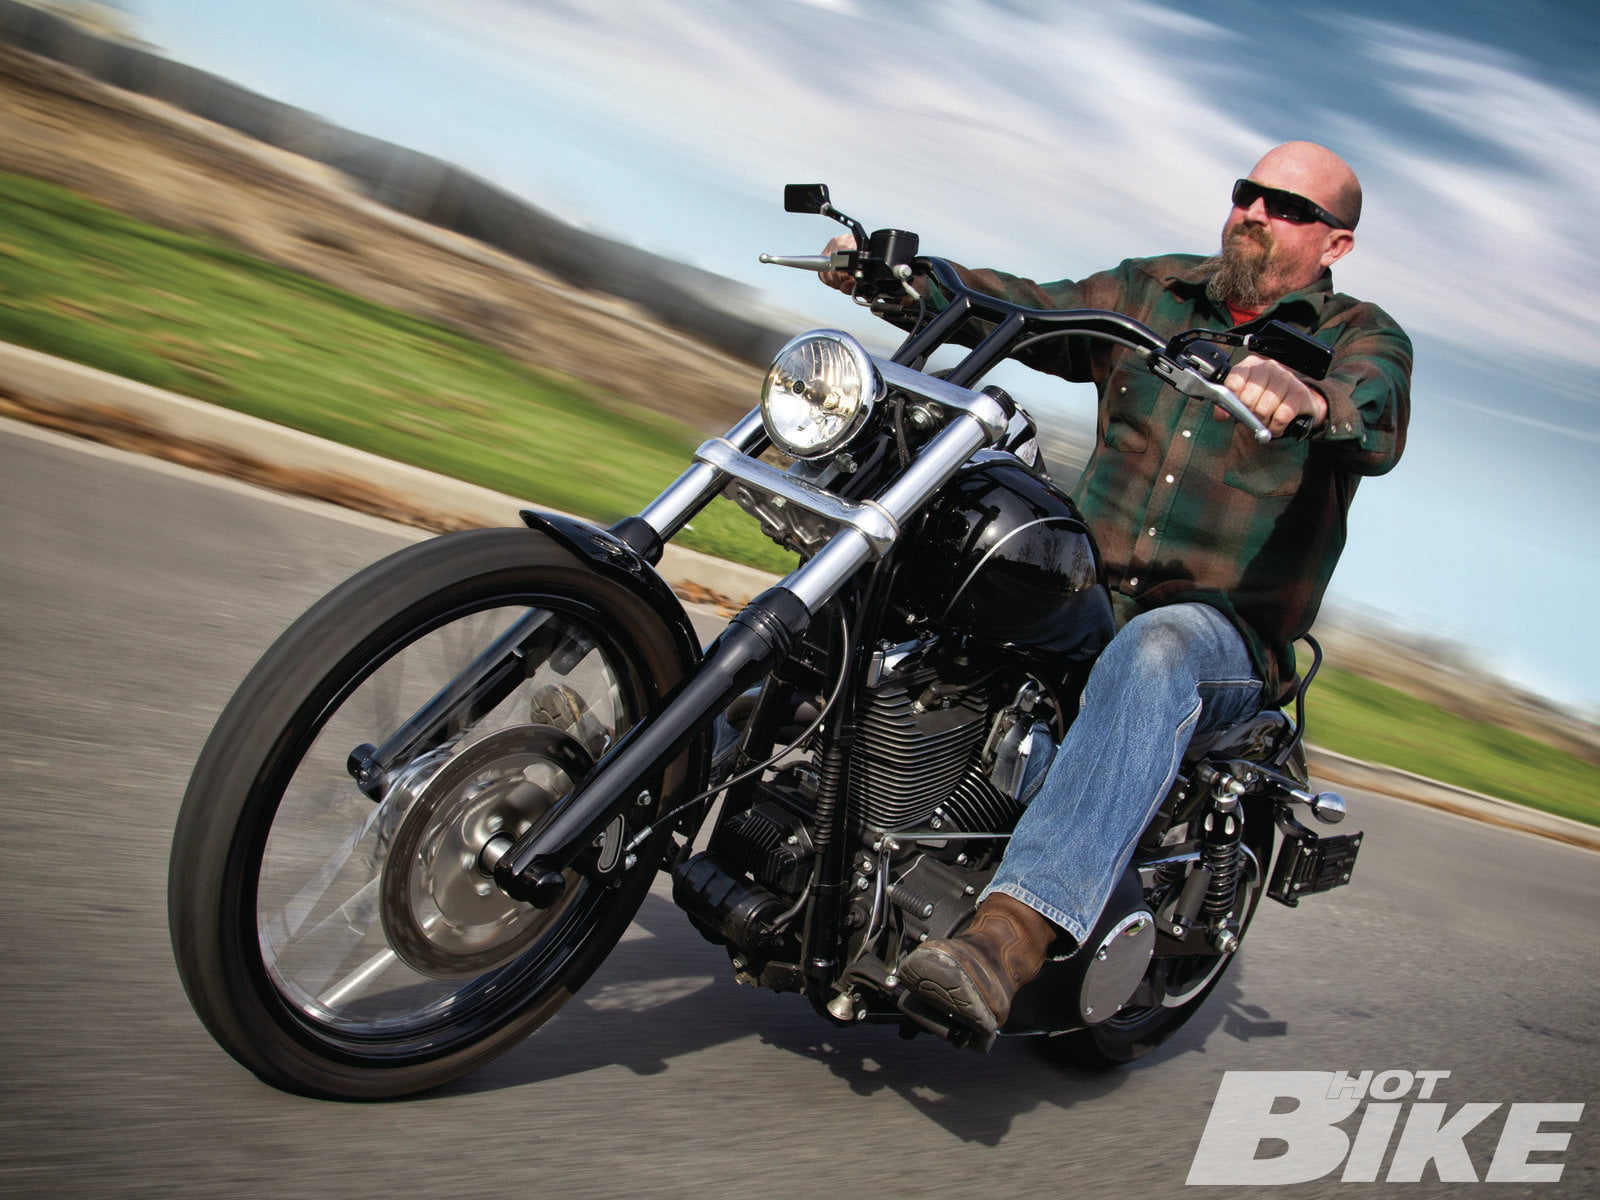
Harley Davidson, West Coast T Bars, and Avon – A Dyna In Contrast
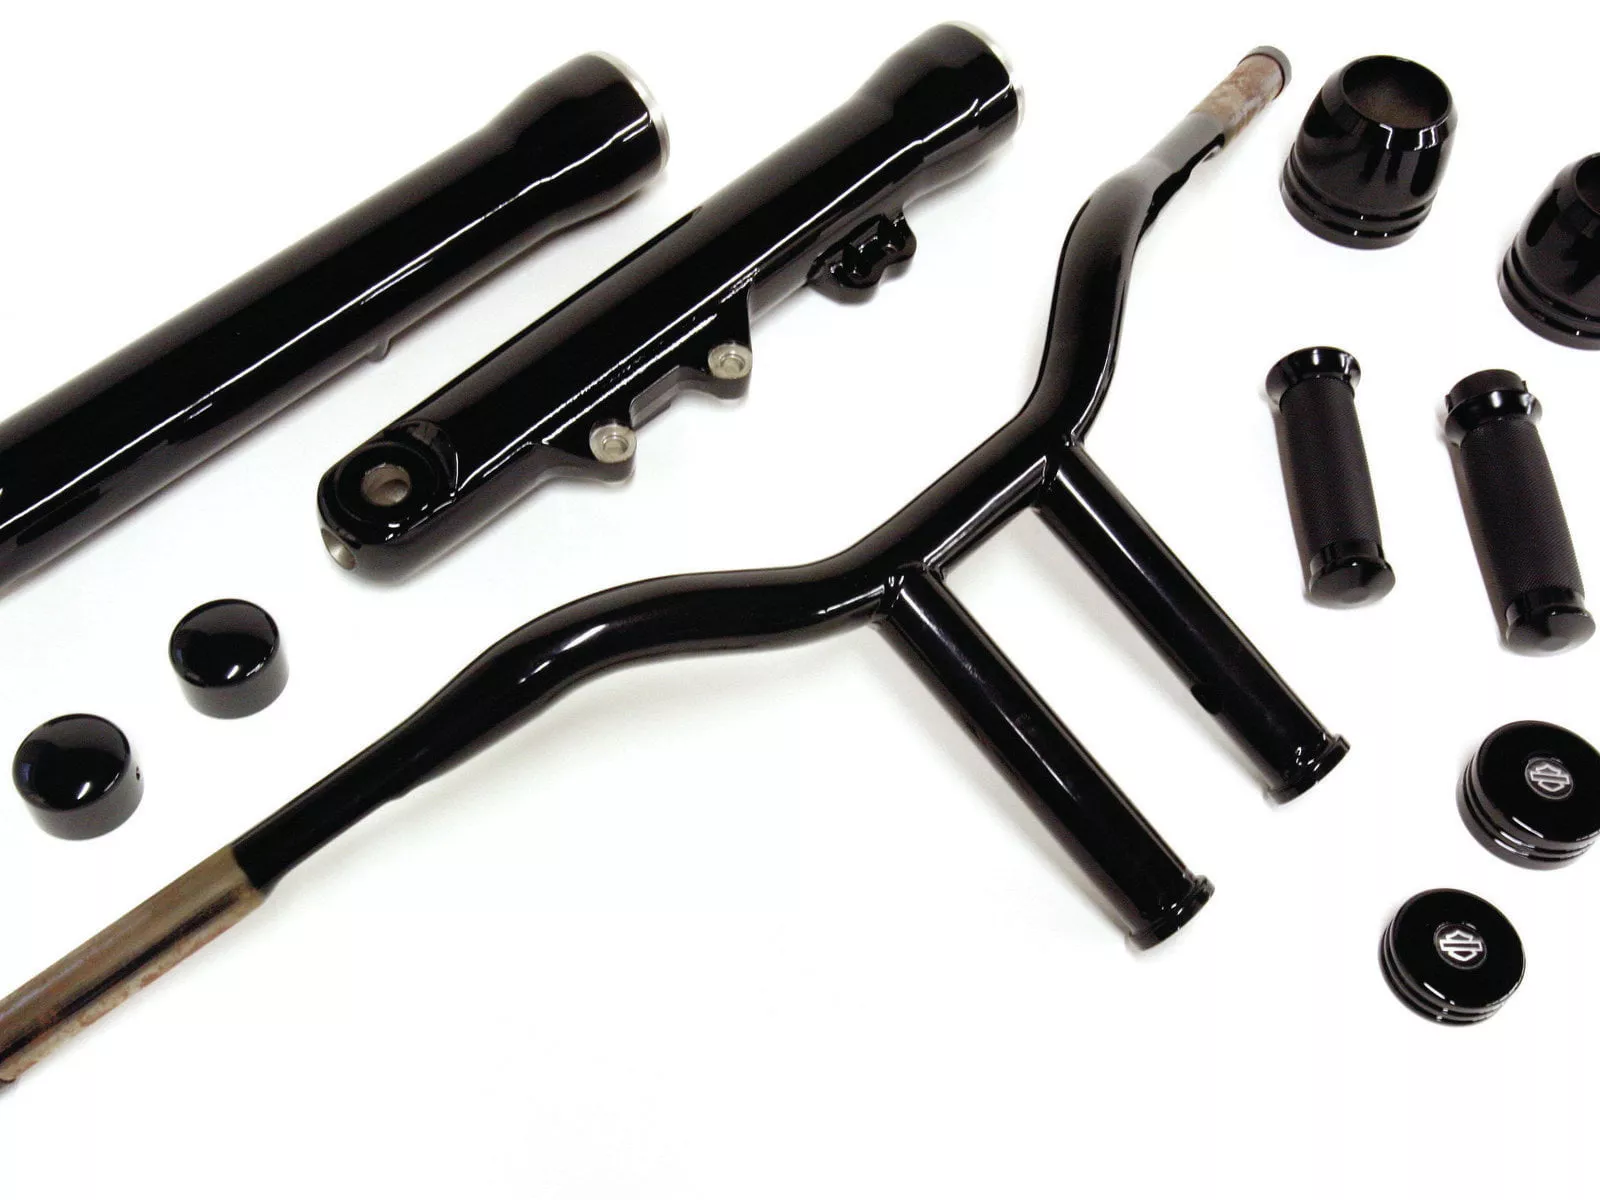
From H-D, the fork legs ($419.95), dust covers ($59.95), axle nut covers ($42.95), and upper fork stem covers ($54.95) are available separately. We saved some dough by ordering everything as a kit under one part number. The West Coast T-Bars 8-inch MX Bars ($249.95) and Avon grips ($59.99) had to be sourced directly from the manufacturers.


Skill Level // Intermediate
As silly as it sounds, many of the largest modifications we make to our motorcycles are the smallest. Sure the paint may be the most eye-catching, but the little things add up to so much more. Take for instance new handlebars. Your ride is transformed by the visual appeal and ergonomic alteration of something we basically take for granted. Add to that a splash of color here and there for contrast, and your stock ride starts to take on a look that draws onlookers in visually, but doesn’t give away its secrets all at one at a time.
From the showroom floor, the Wide Glide is a tough machine right out of the box. Ours was ordered in Vivid Black and sported a nice custom look thanks to many of the components already dipped in darkness from the factory. With the multitude of chrome and polish splashed around, it’s apparent the MoCo has been spending some time watching what modifications enthusiasts are making. We had a chance to pull off a drastic change to a 2011 Harley Davidson Dyna Wide Glide, and we did so with barely any work. Only one specialty tool was involved in the whole operation, so we know you can accomplish the same makeover in your own garage. We’re going to show you how.
To make life easier, we chose most of the parts right out of the Harley Davidson Genuine Motor Parts and Accessories catalog. The only parts not from the book were the Avon grips and West Coast T-Bars 8-inch MX Bars. Our Dyna already had the pegs so the matching Avon grips made perfect sense. As for the bars, we are going to call them the 2x2x2 bars. West Coast T-Bars’ MX 8-inch bars are about 2 inches taller, 2 inches narrower, and have 2 inches less pullback than stock. They worked out perfect for this Wide Glide and made the ride so much more comfortable and controllable. Be sure to check out each of the manufacturers to find out what goodies they have for you and your ride!
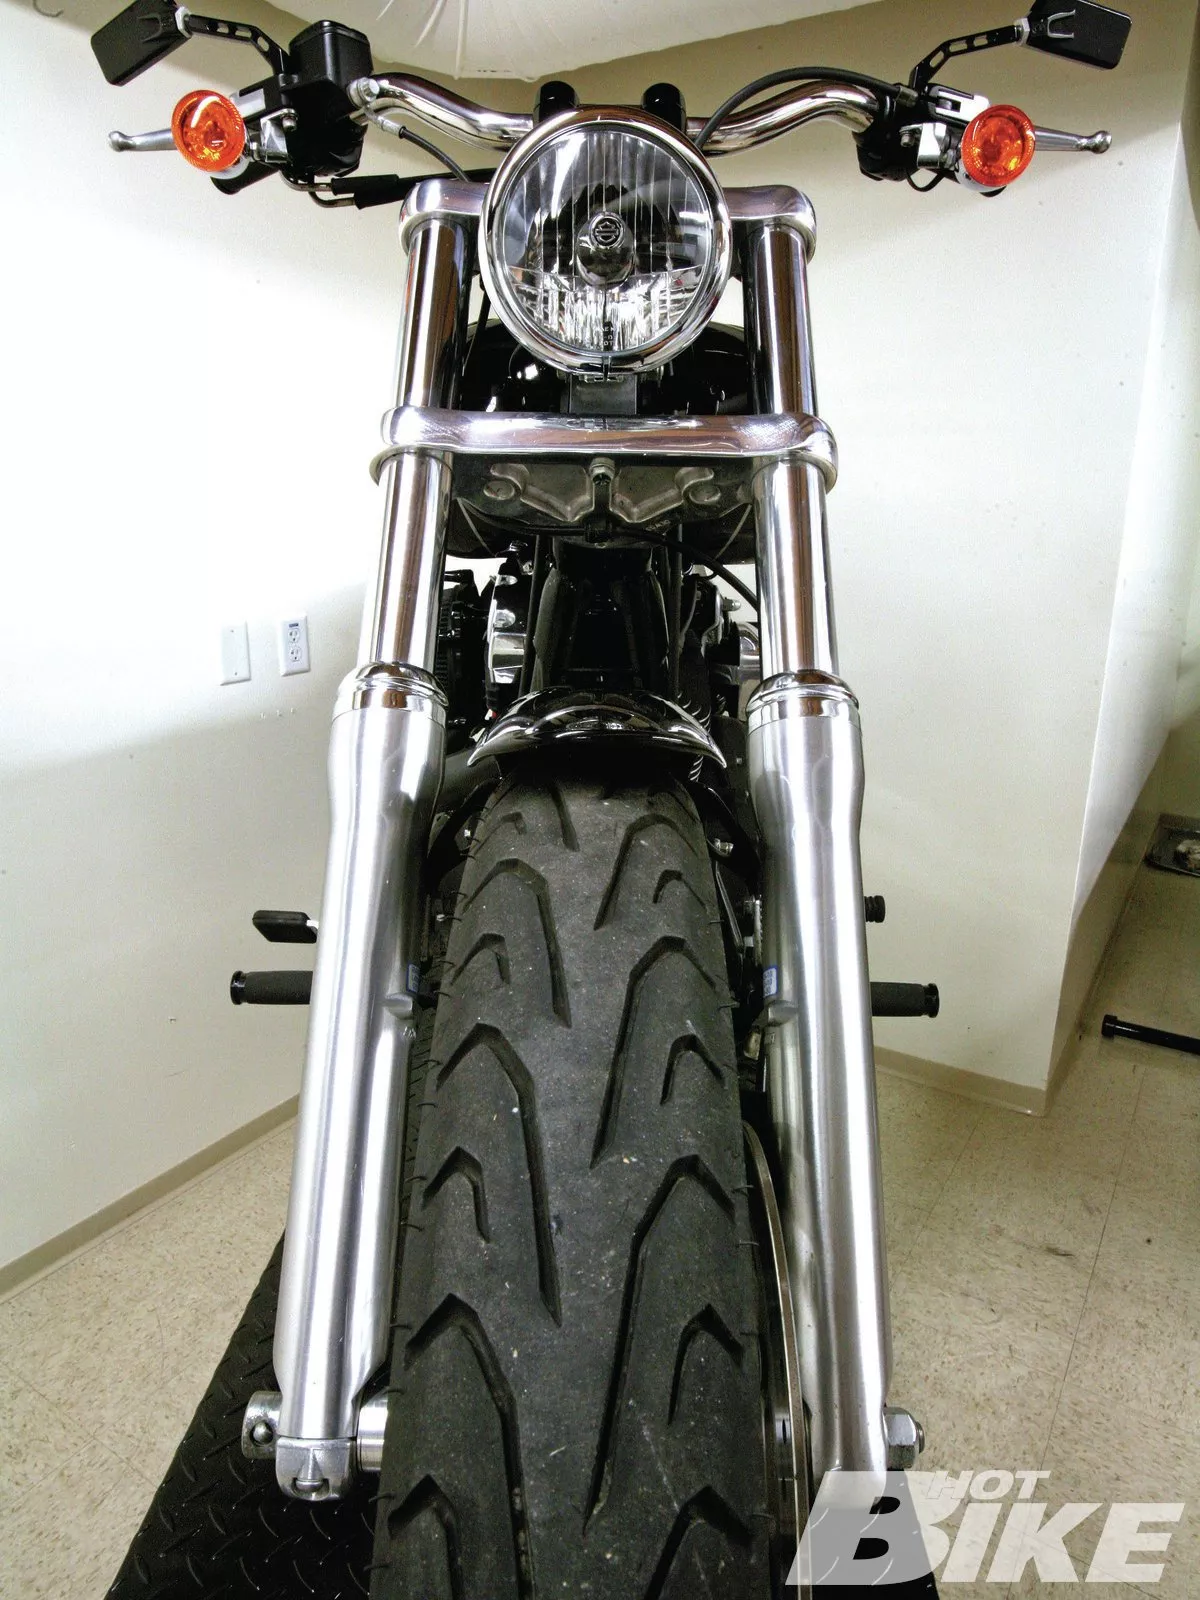
1. Many of you will recognize this as the stock frontend on ’08-newer Wide Glides. A change was overdue and we had just the plan in mind.
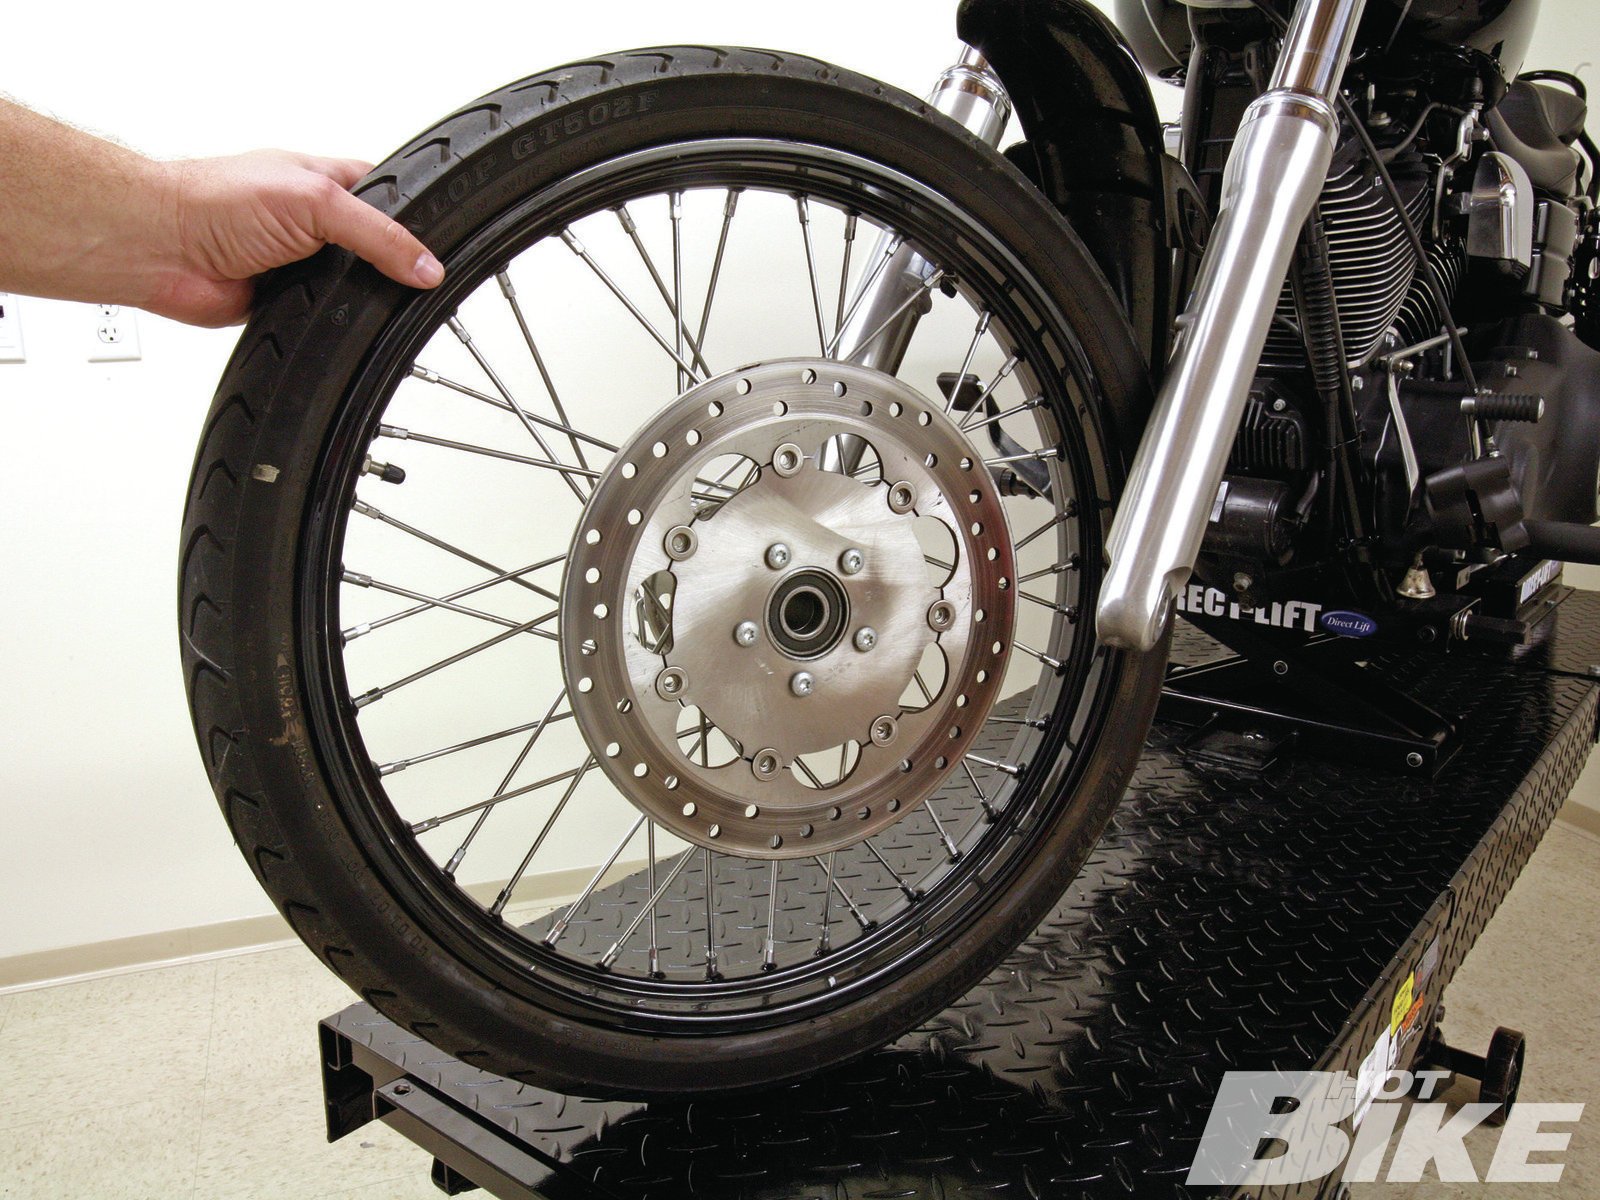
2. With the Dyna supported by the frame, we unbolted the brake caliper, removed the axle, and rolled the front wheel out of the way. The fender was pulled and set aside on a towel to prevent damage.
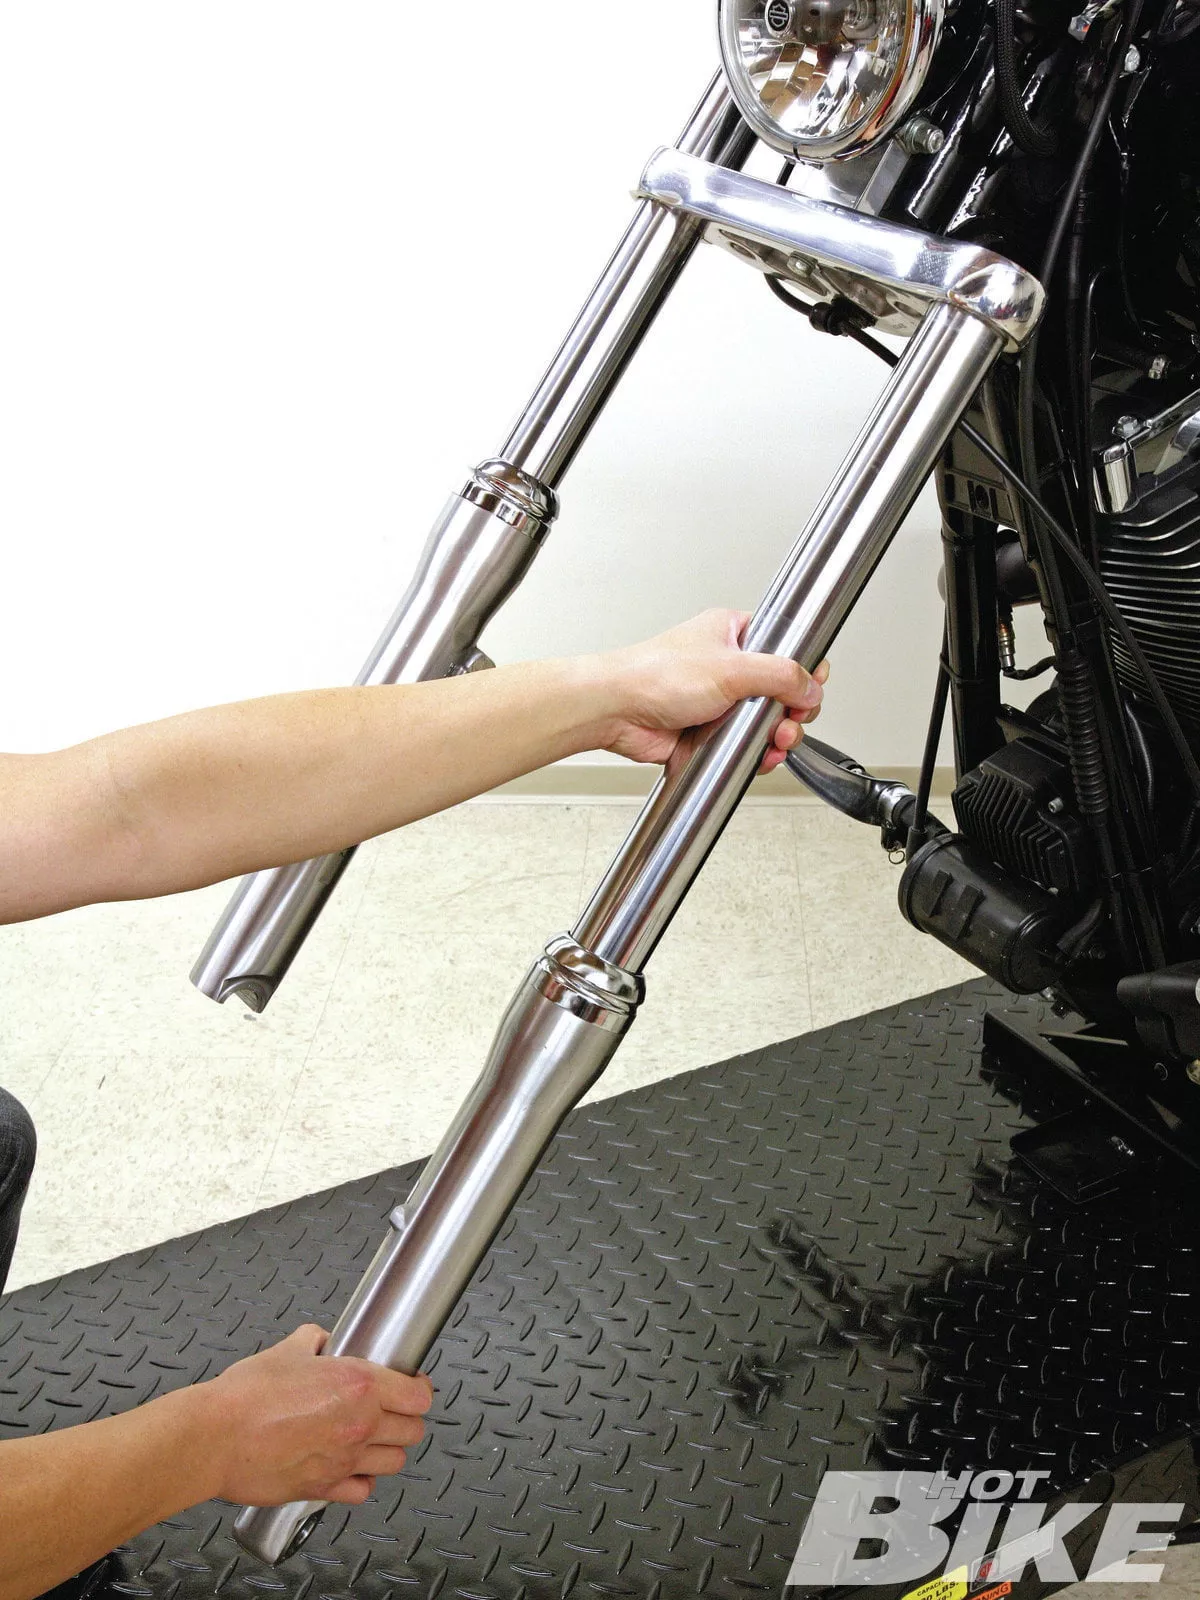
3. Loosening two pinch bolts per side was all that was required so the fork legs could slide free from the triple clamps’ grasp.
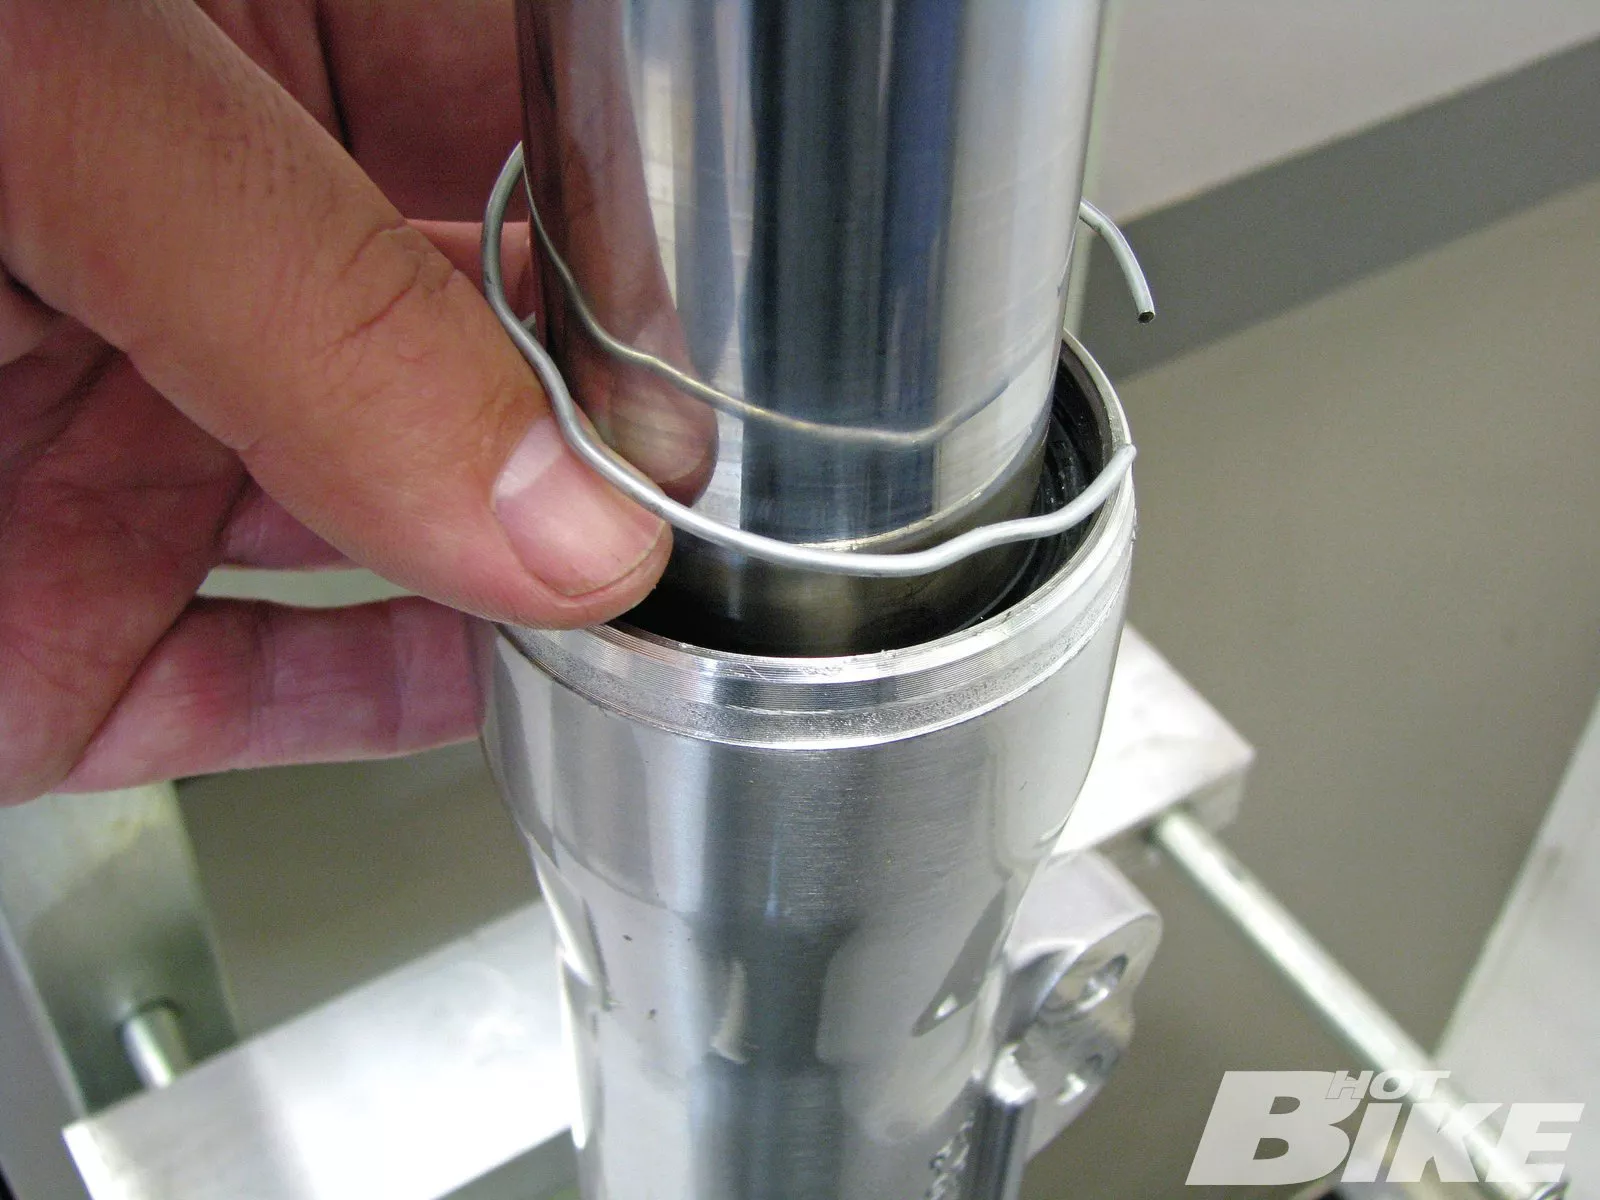
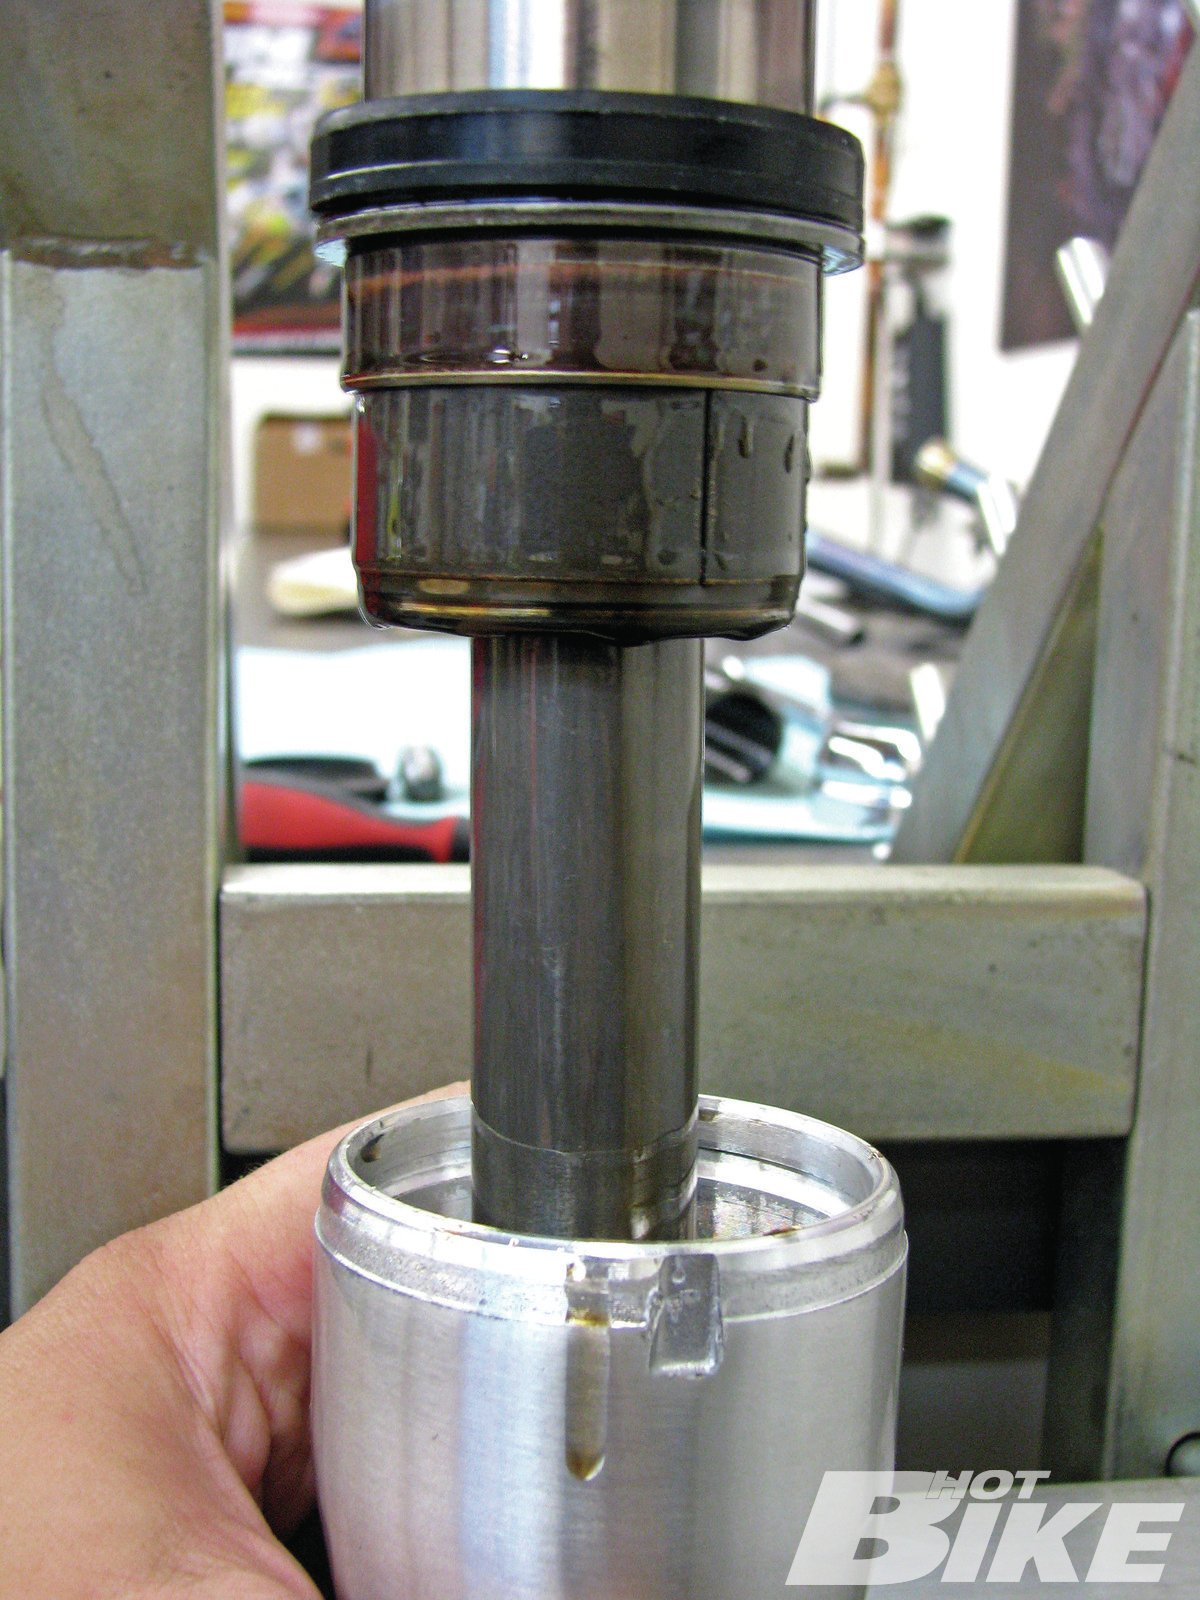
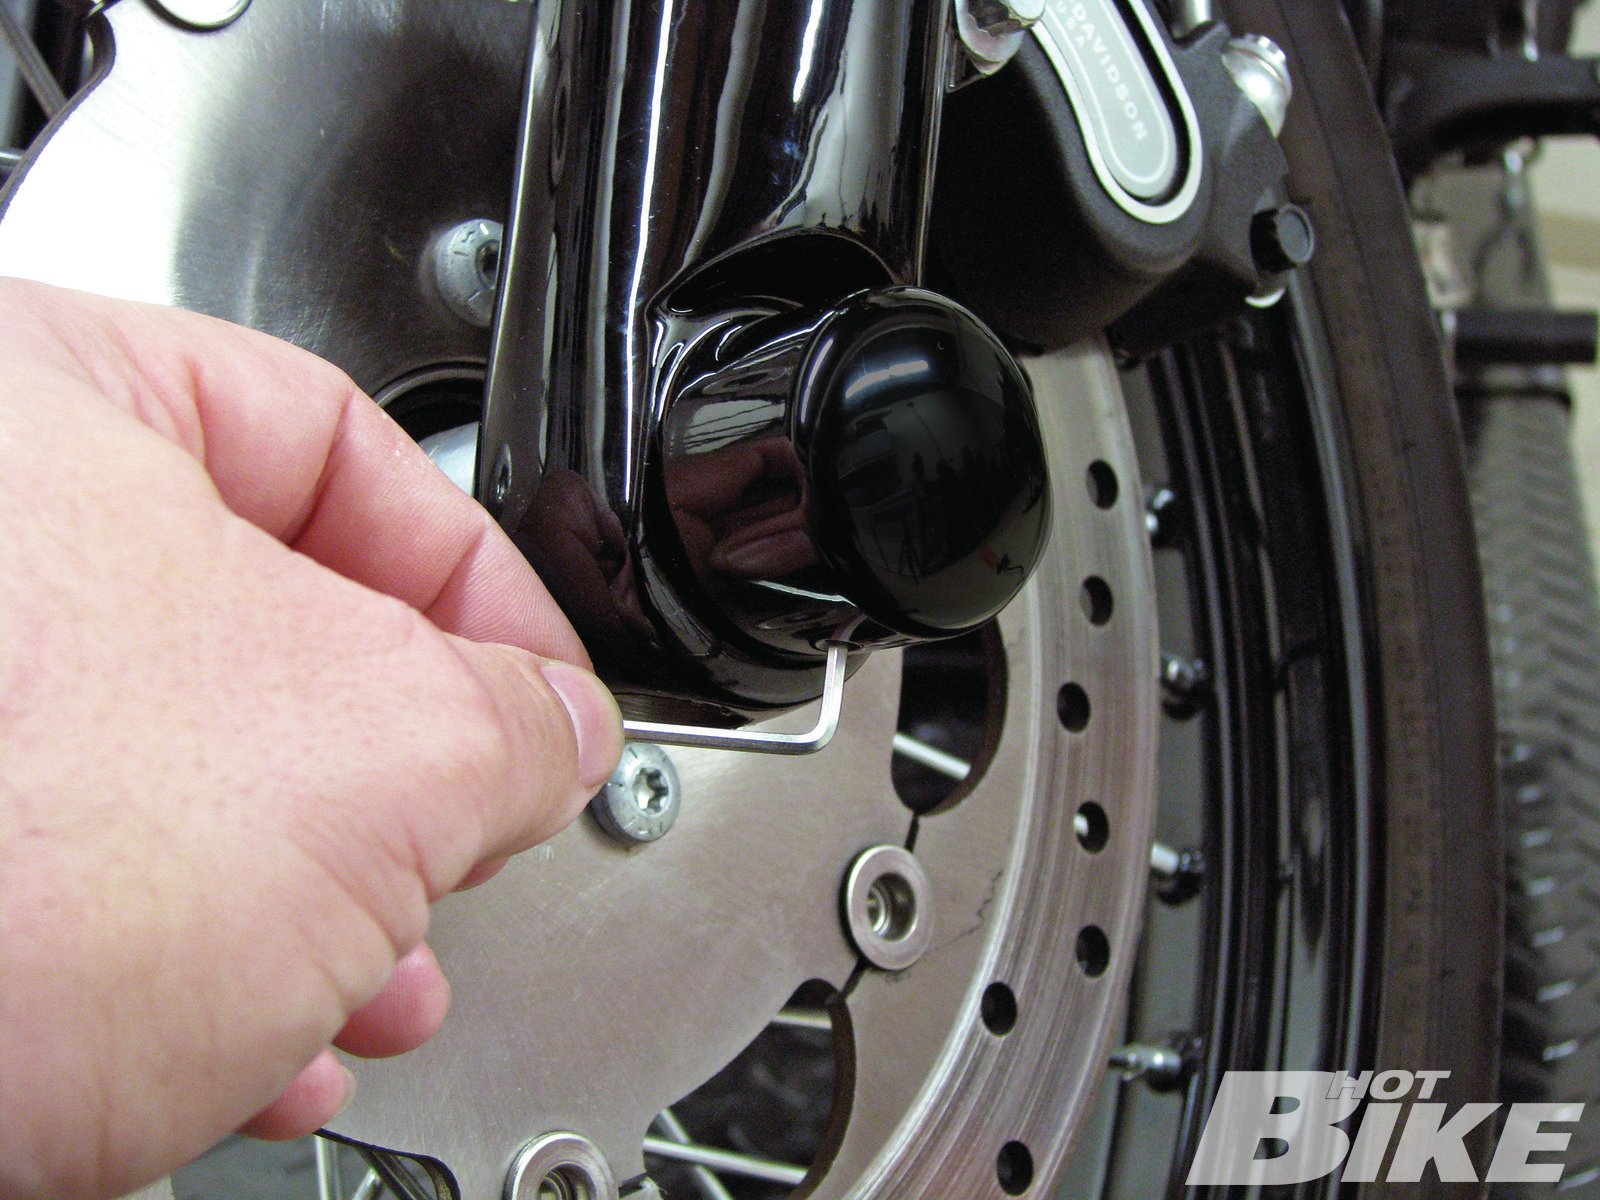
4. Don’t feel like the forks have voodoo in them. Remove the upper retaining bolt to relieve the spring pressure, pull the retaining clip hidden under the dust seal (shown here), and then hang the fork upside down to drain the oil while unscrewing the damper bolt in the end of the lower leg.
5. With everything free, the upper and lower fork legs will pop apart with a good tug.
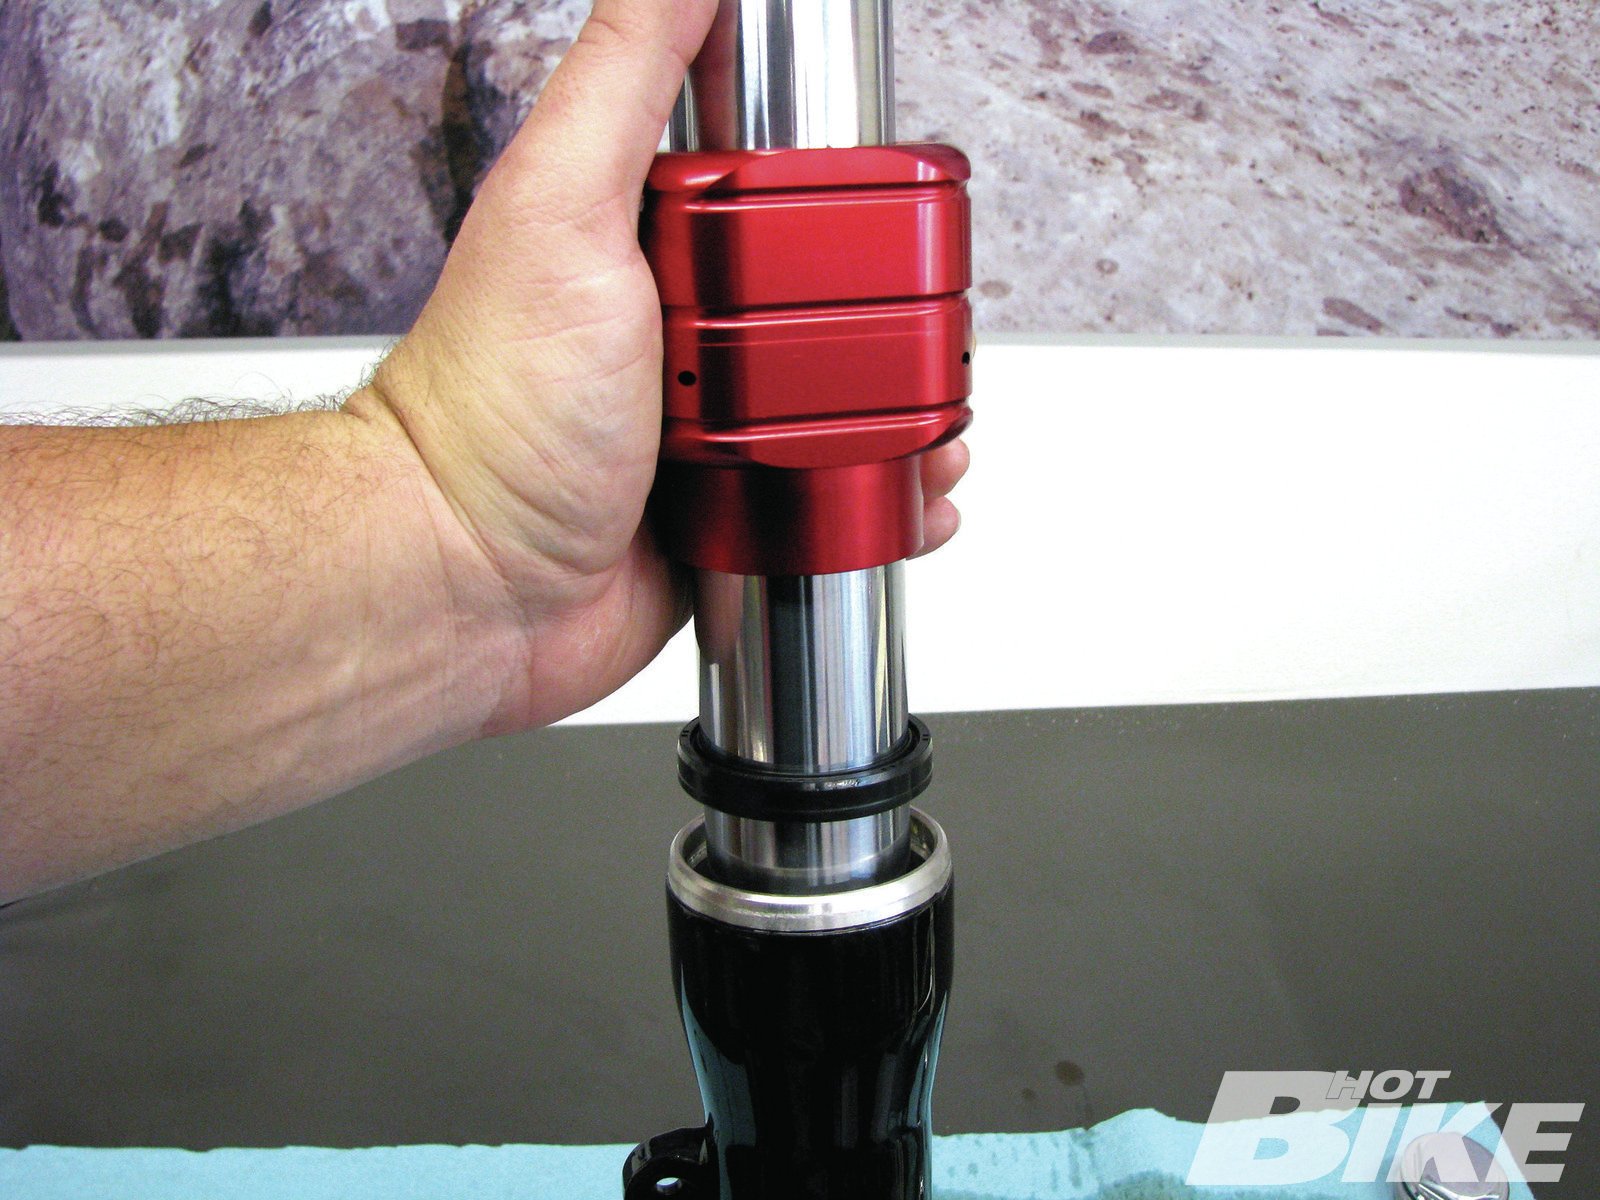
6. We slipped everything into the H-D black lower legs in reverse order. Here is where the one specialty tool came into play. Our choice was a George’s Garage 49mm fork seal driver ($59.95).
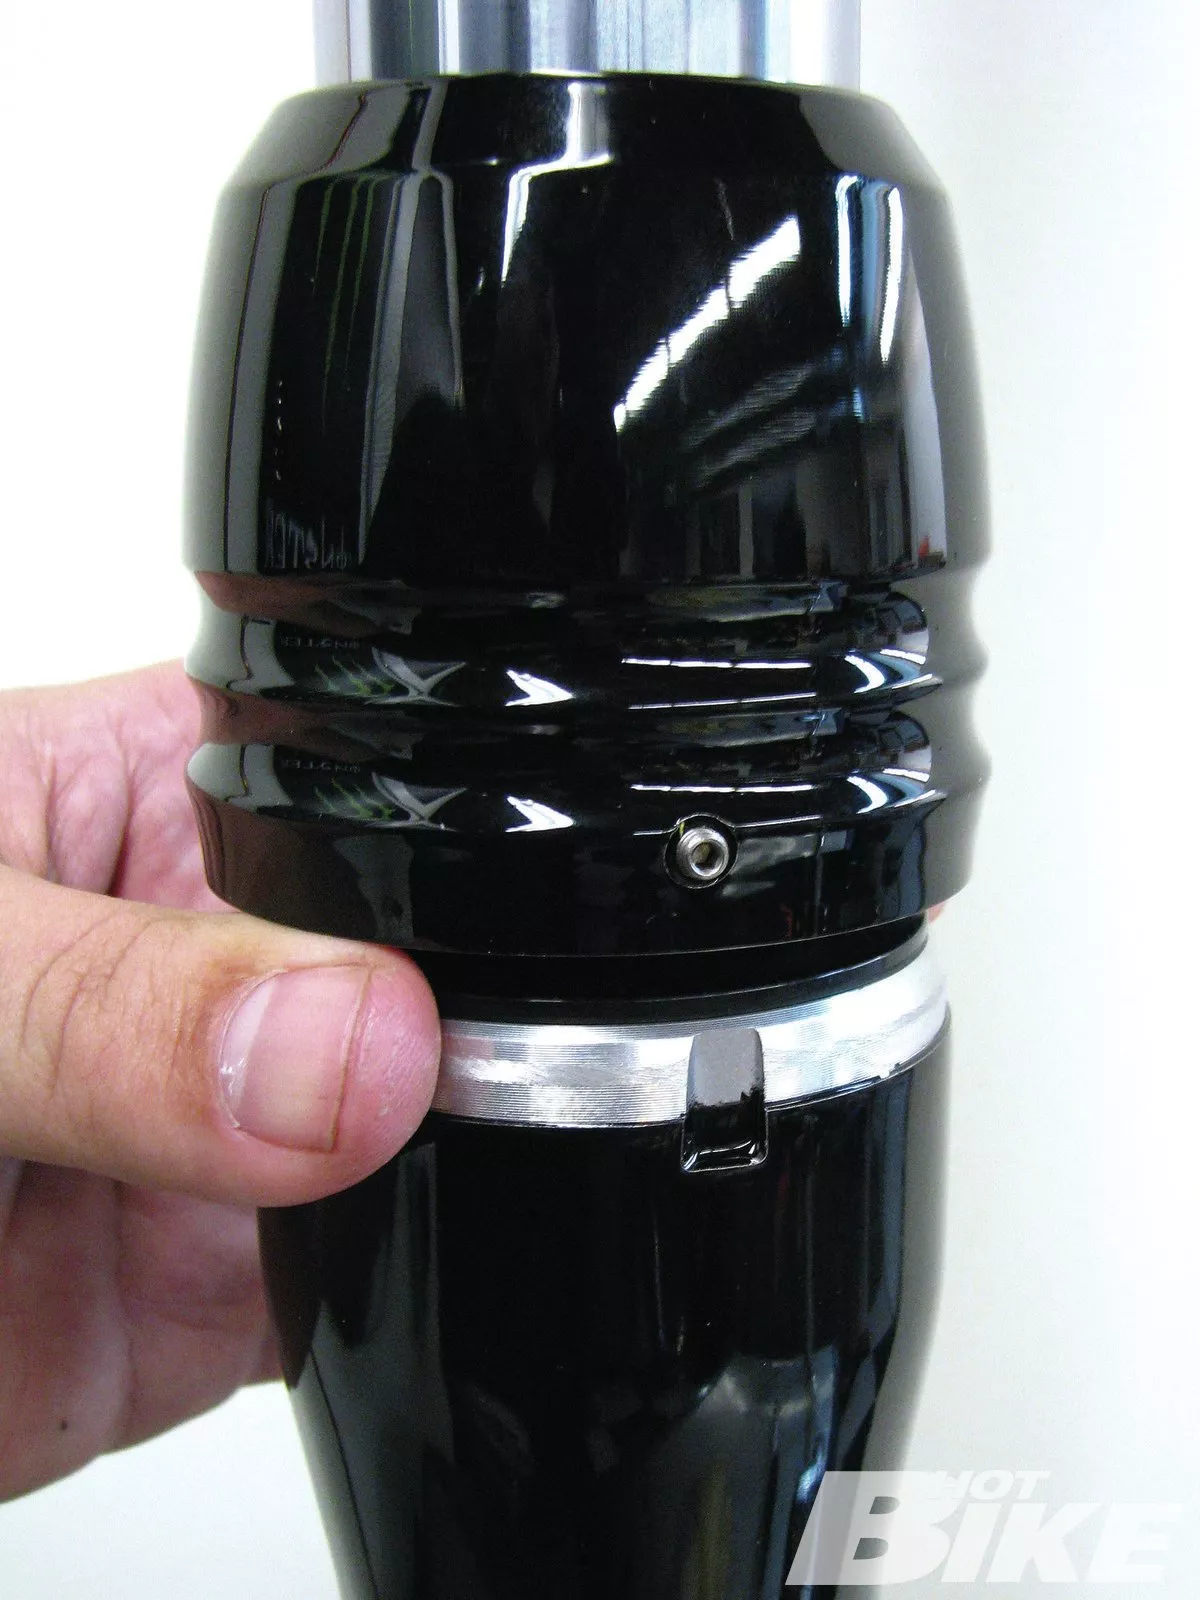
7. Harley’s Fork Slider Dust Cover Kit sealed the deal (pun intended). A setscrew clamped each one in place in the groove shown on the lower fork leg.
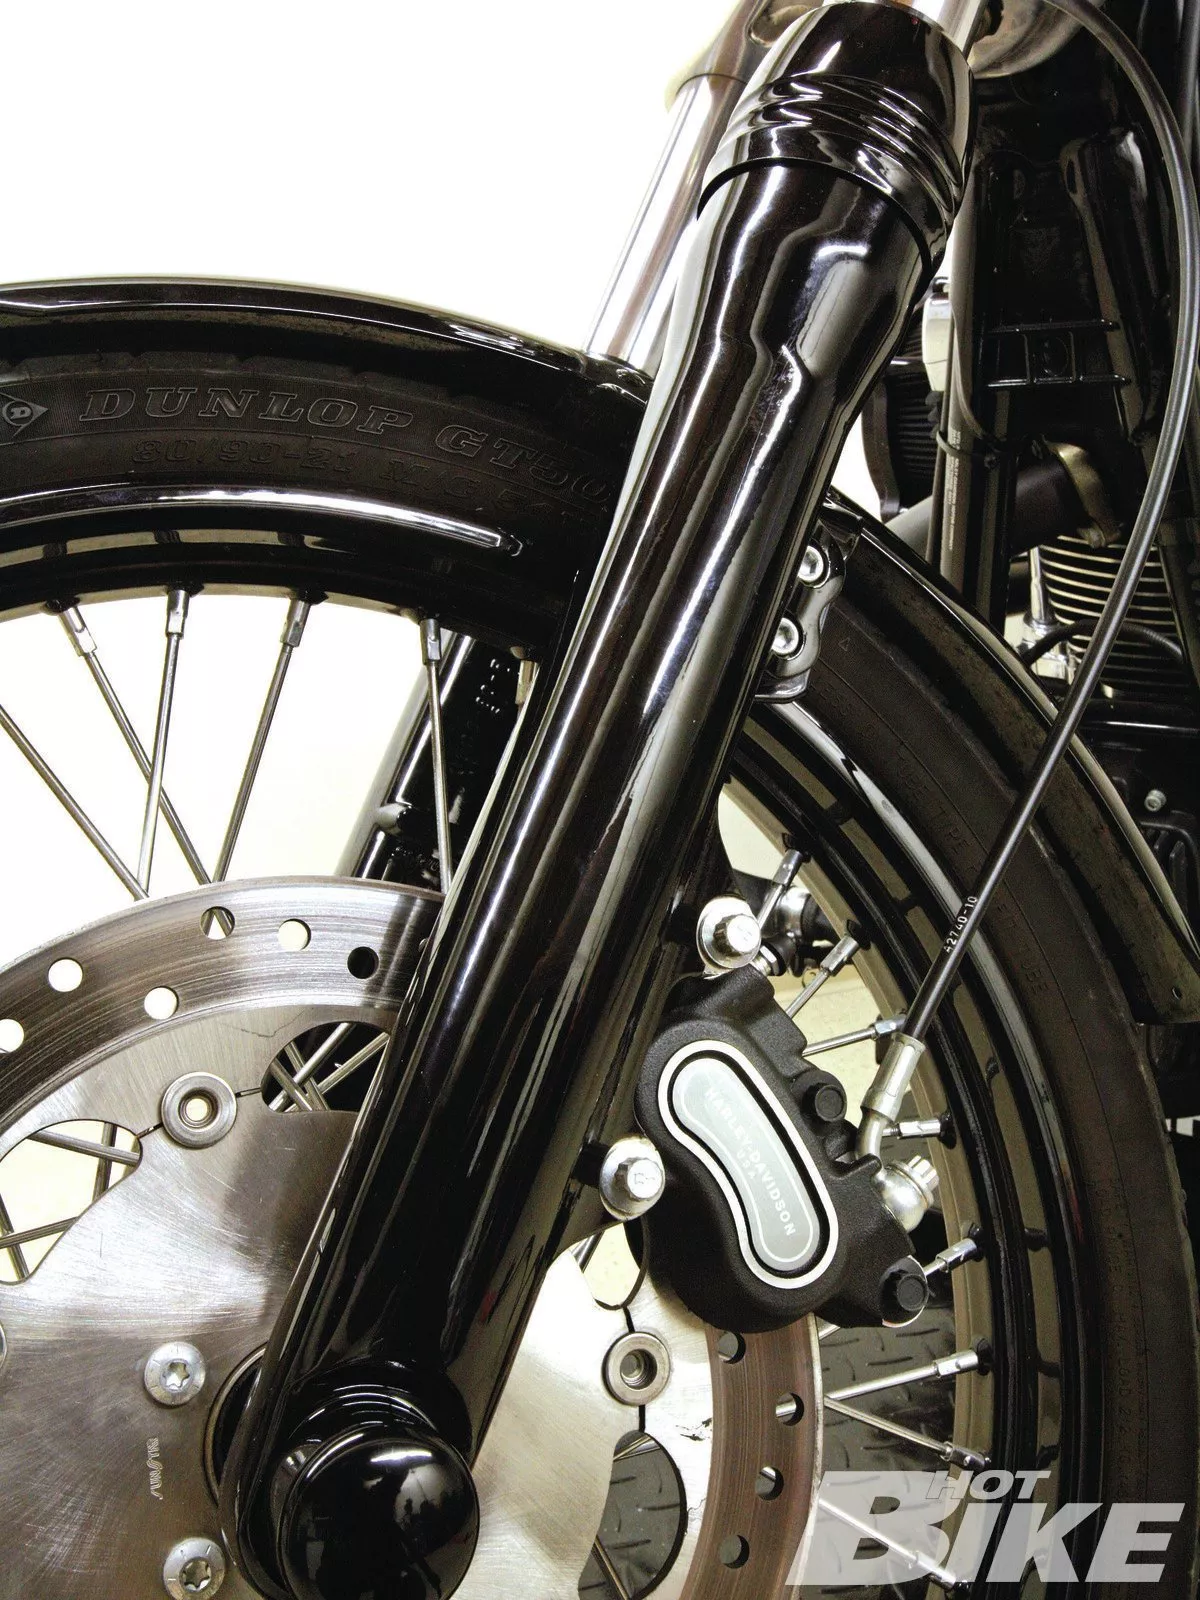
8. Back on the bike, our new black lower legs were already looking great, but we weren’t done yet.
9. After reassembling the frontend, we hid the axle ends from view with the H-D Front Axle Nut Cover Kit.
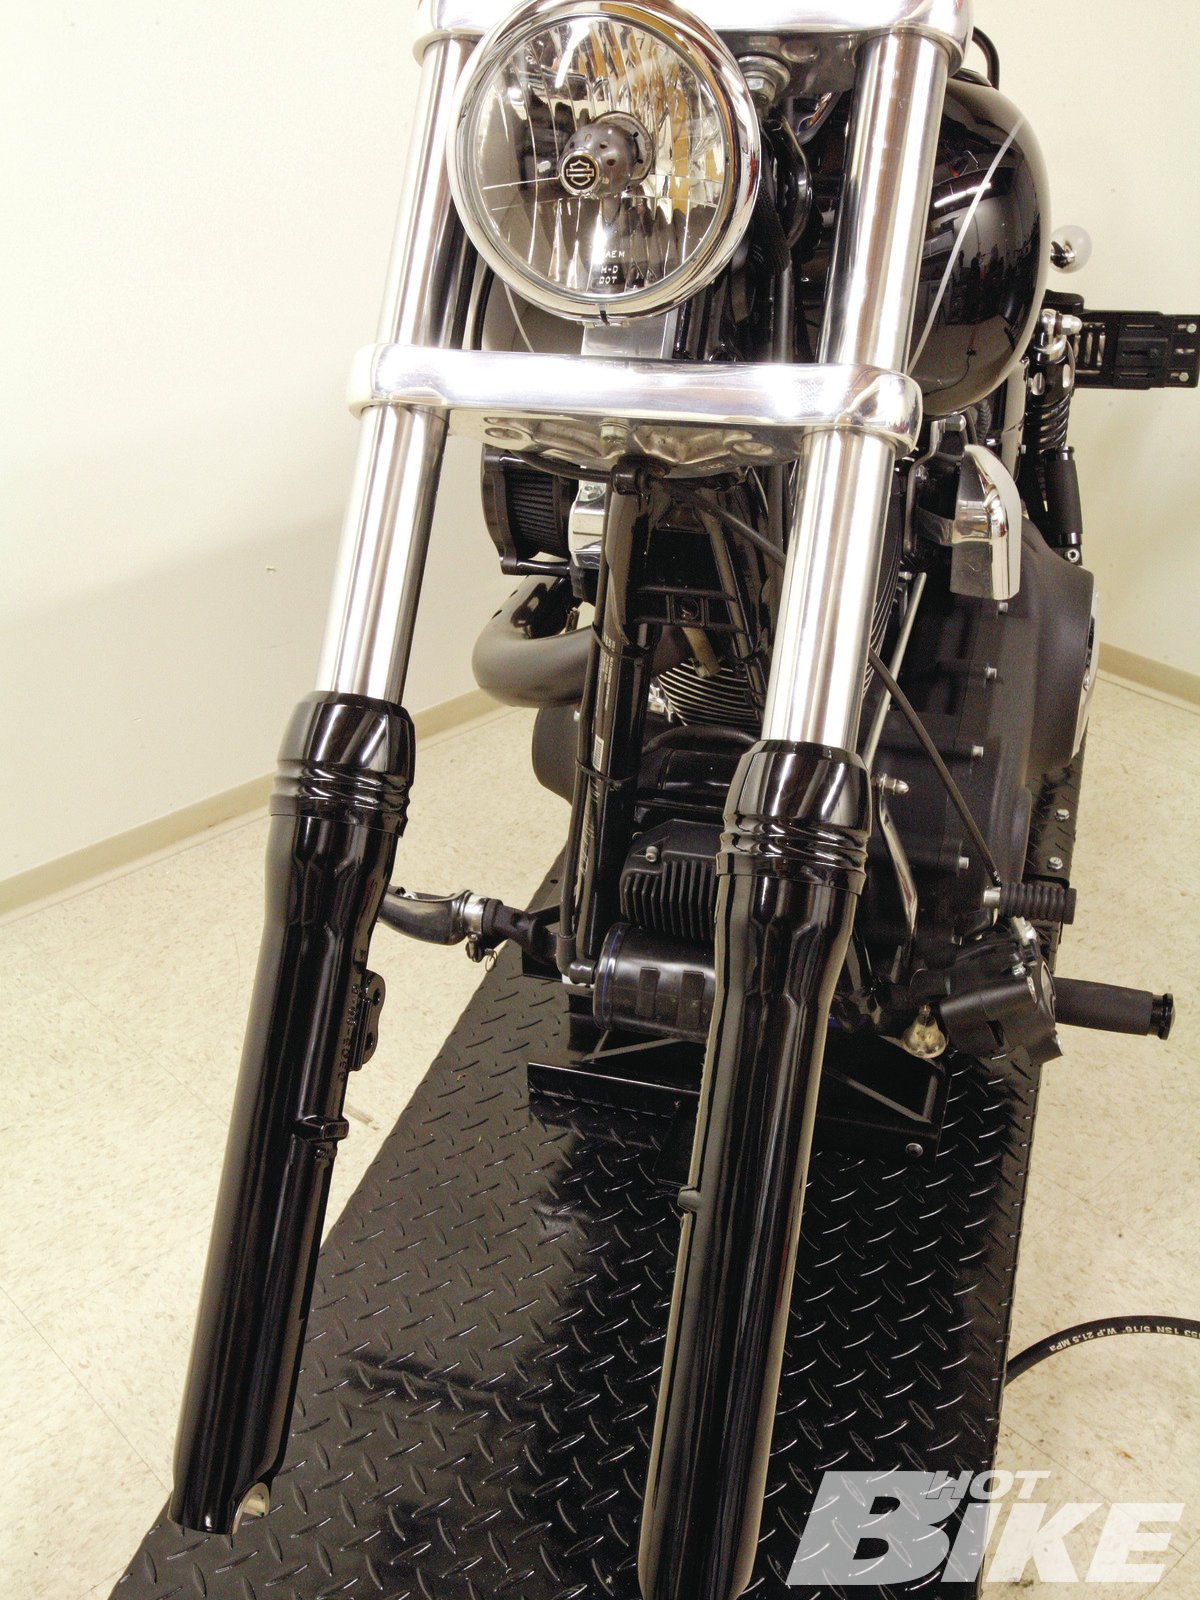
10. How was this for a dramatic change with only two hours of effort?
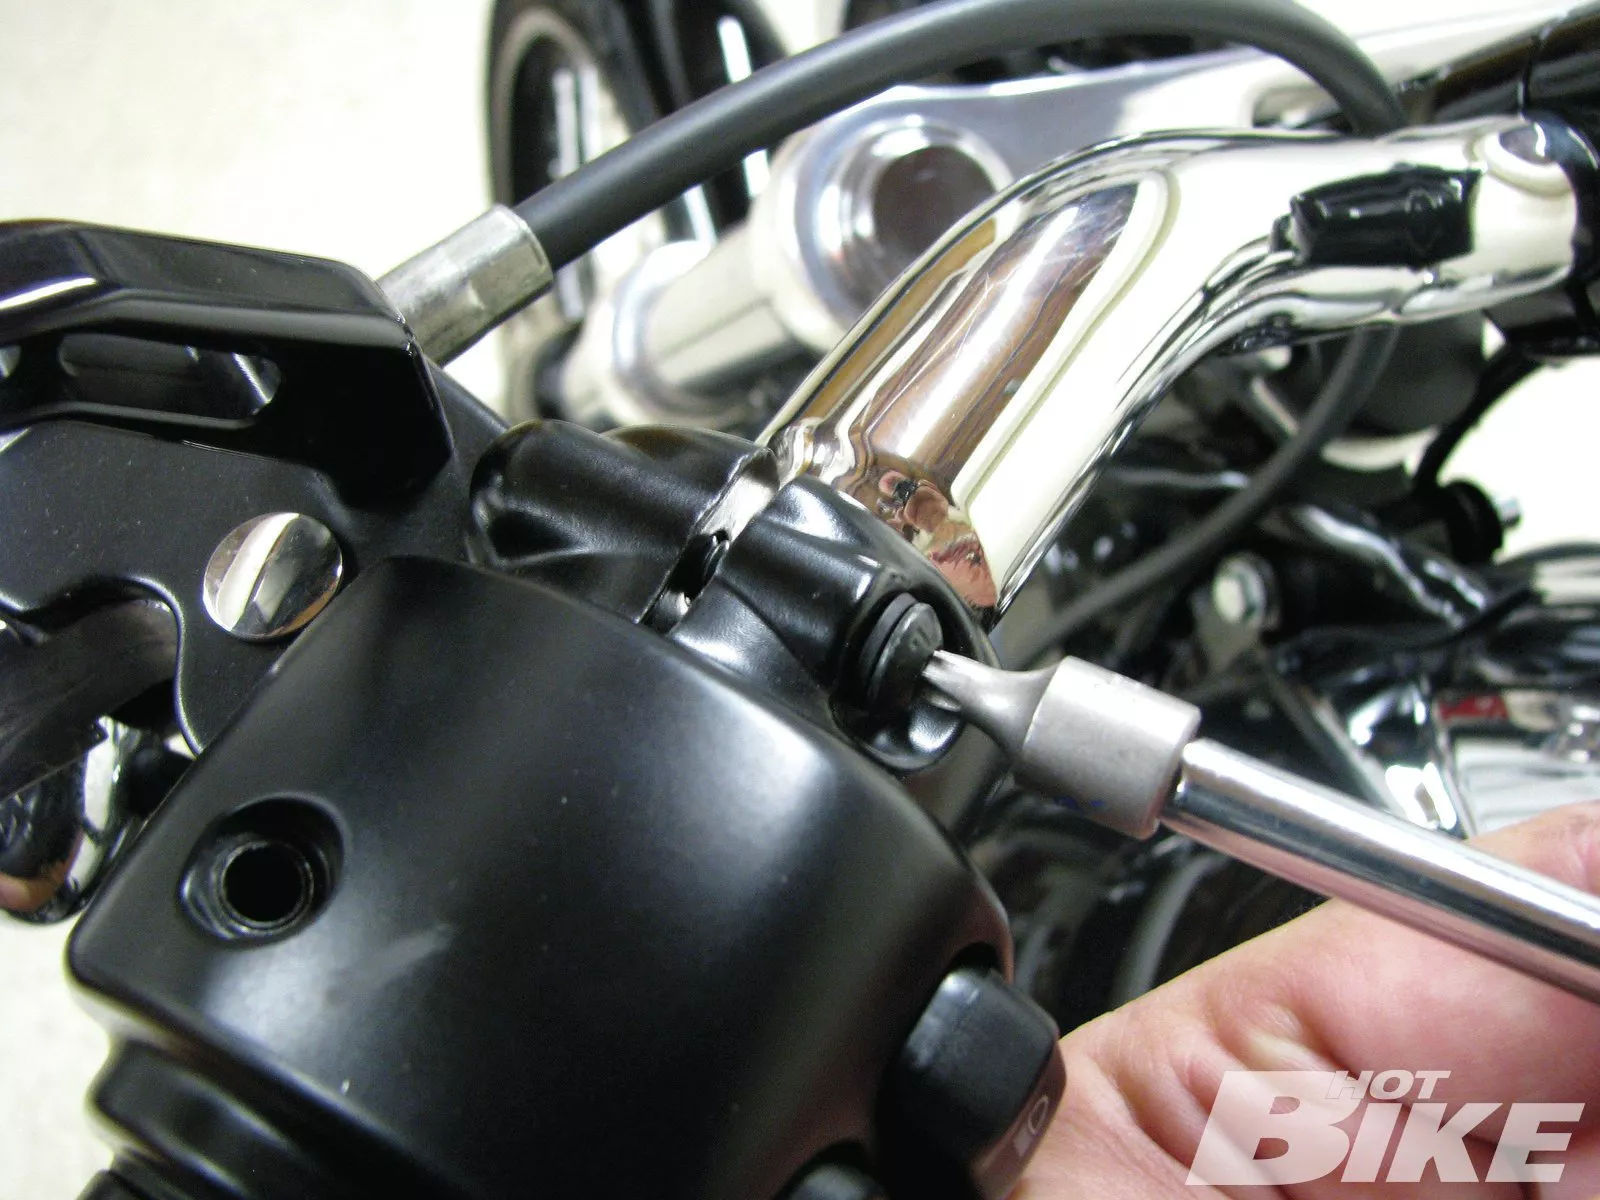
11. Up top, we stripped the handlebars of the bike’s controls.
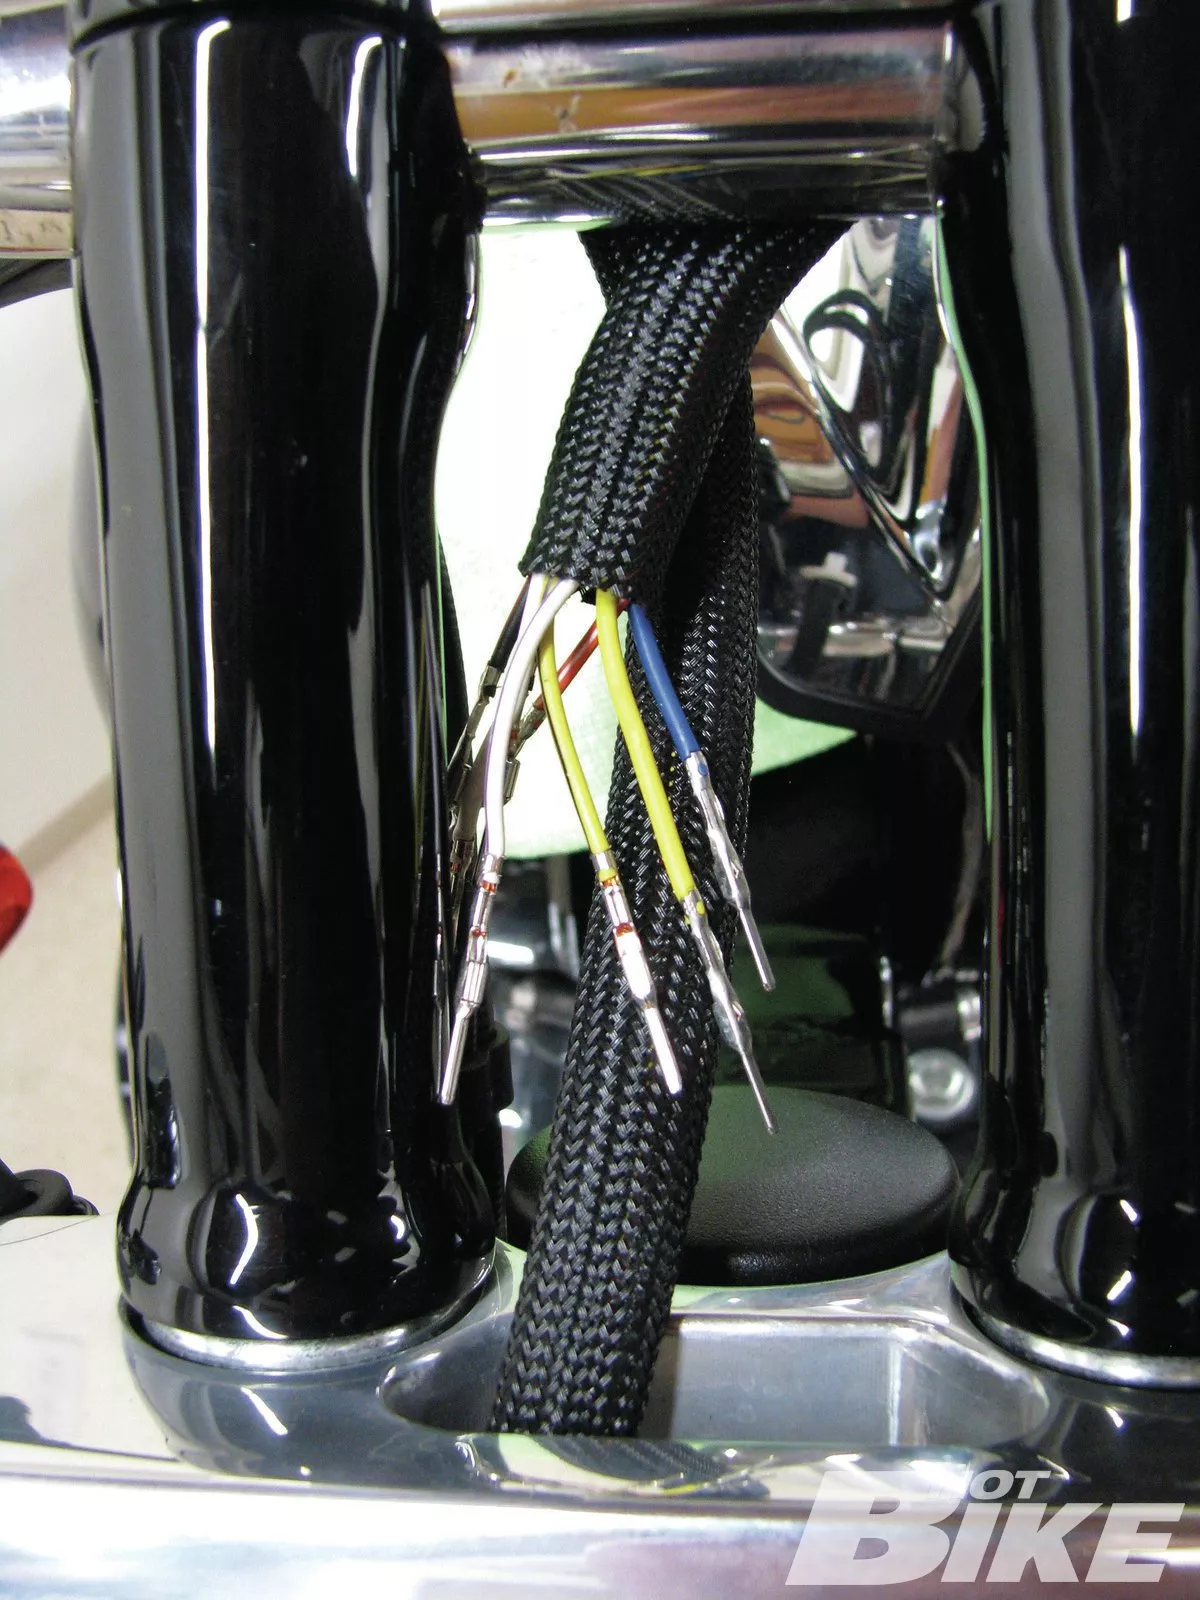
12. Harley-Davidson internally wired the Wide Glide’s handlebars. To completely remove the controls, we had to de-pin the factory connectors so the wiring would slide through and out.
13. The original bushings were retained once the stock bars were unbolted and removed for their trip to the swap meet.
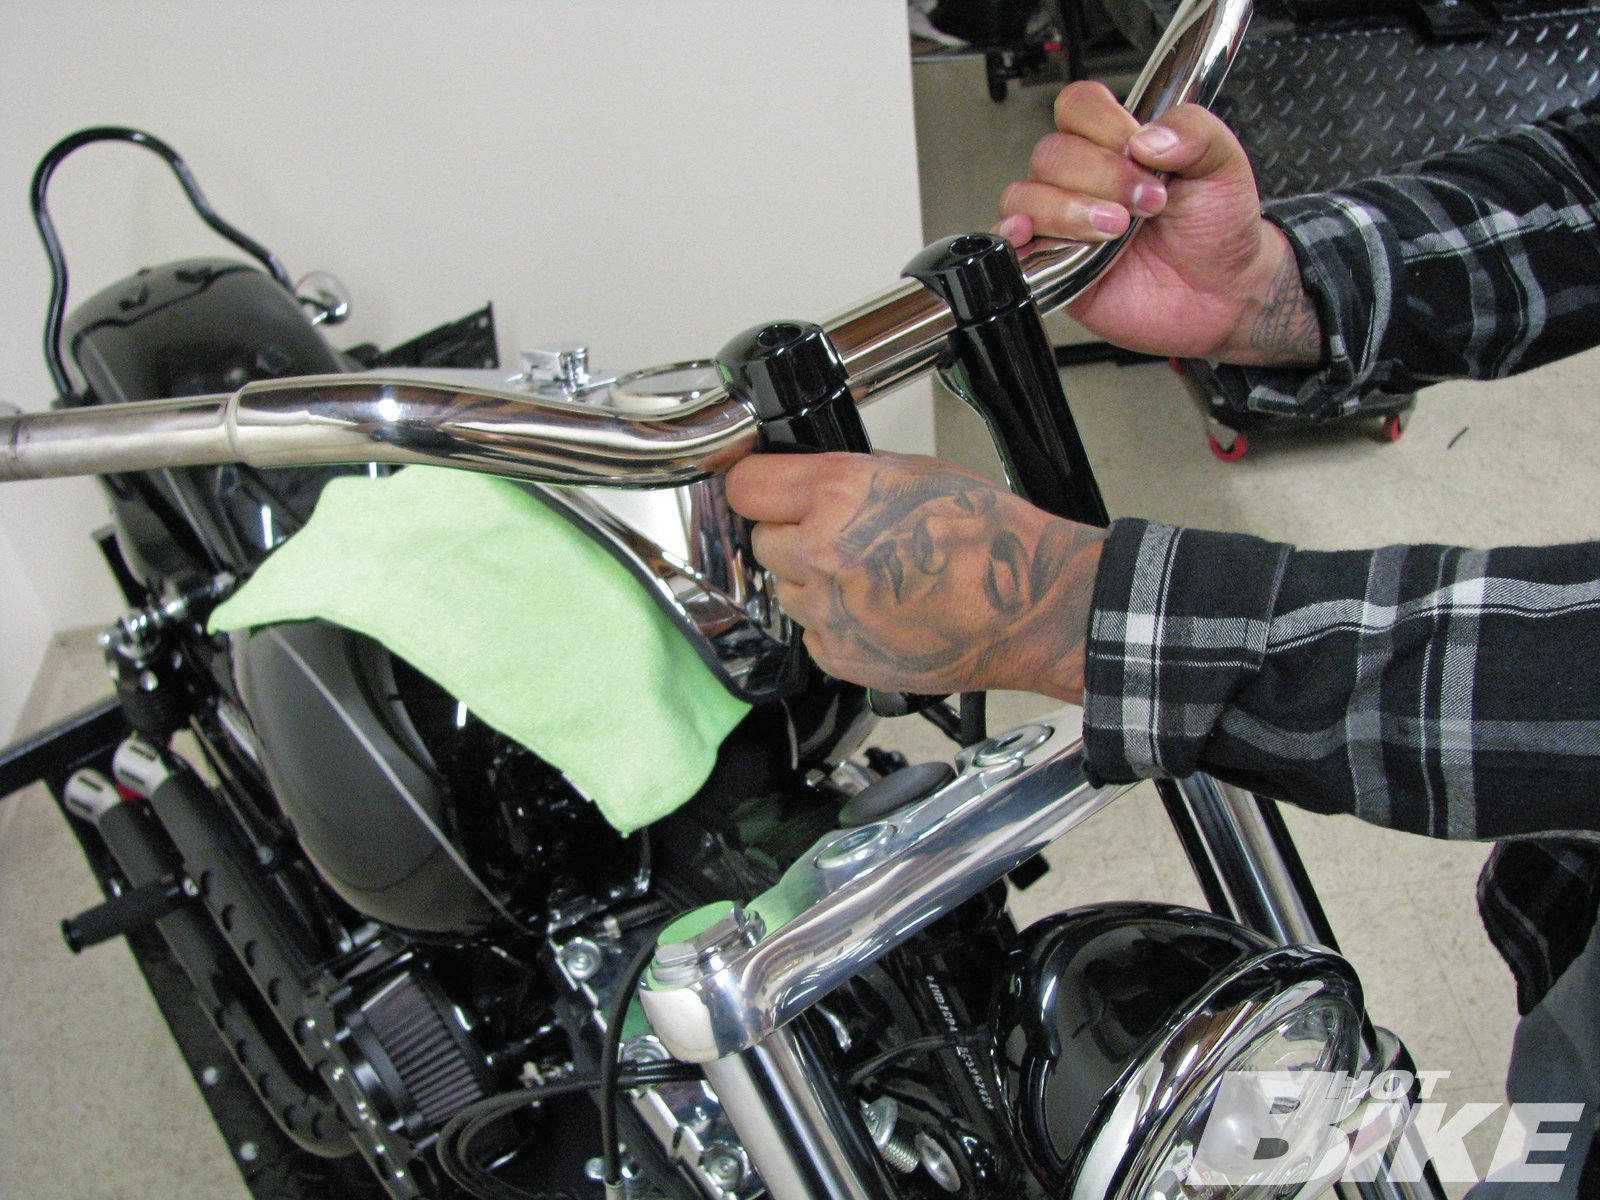
14. West Coast T-Bars builds its bar risers on standard 3-1/2-inch spacing with cupped bungs to fit flush over the bushings. The 8-inch MX bar measured in at 32 inches across with 3-3/4 inches of pullback. Tubing started at 1-1/4 inches and necked down to 1 inch for the controls and grips to fit properly.
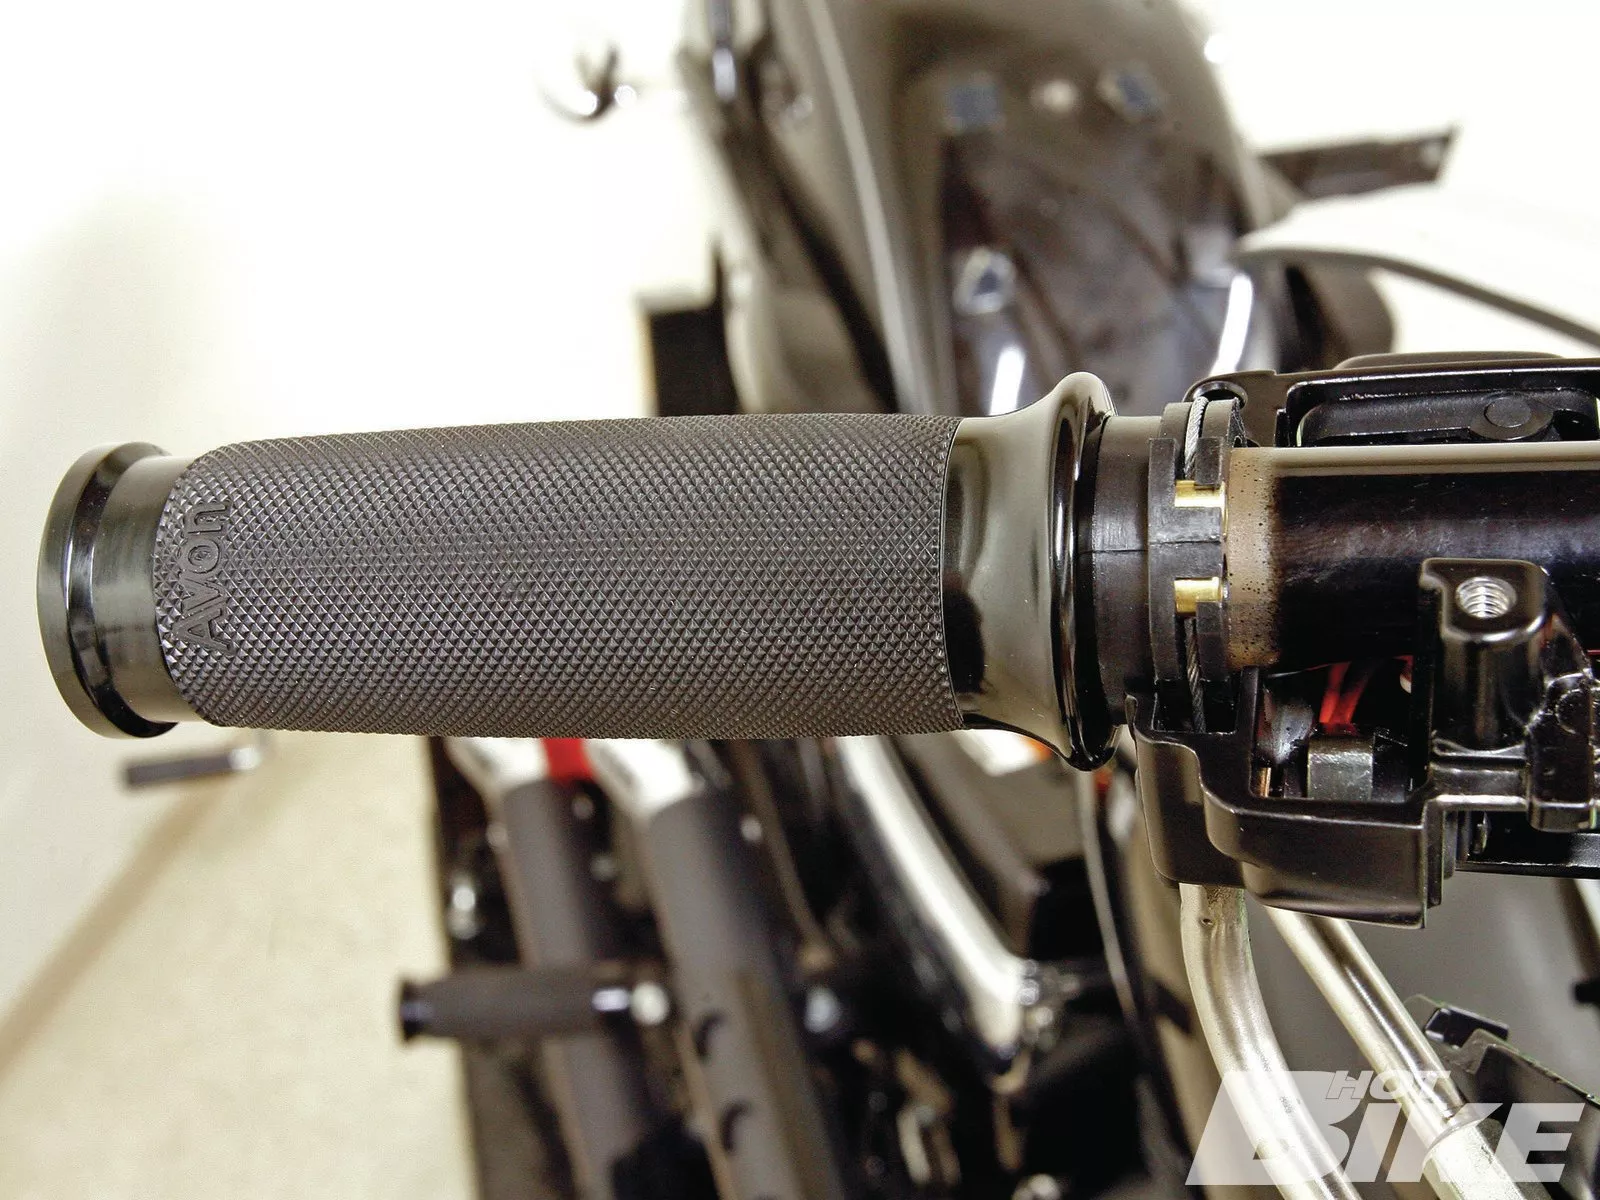
15. Avon’s grips are manufactured in the USA with Kraton rubber, featuring a very soft serrated texture to help hang on to your bike. Both ends were finished off with 6061 billet aluminum end caps and collars.
16. Rewiring the MX Bars was a bit of a chore as the one-piece design made running the wires a task, but with everything bolted back up, we couldn’t wait to ride!
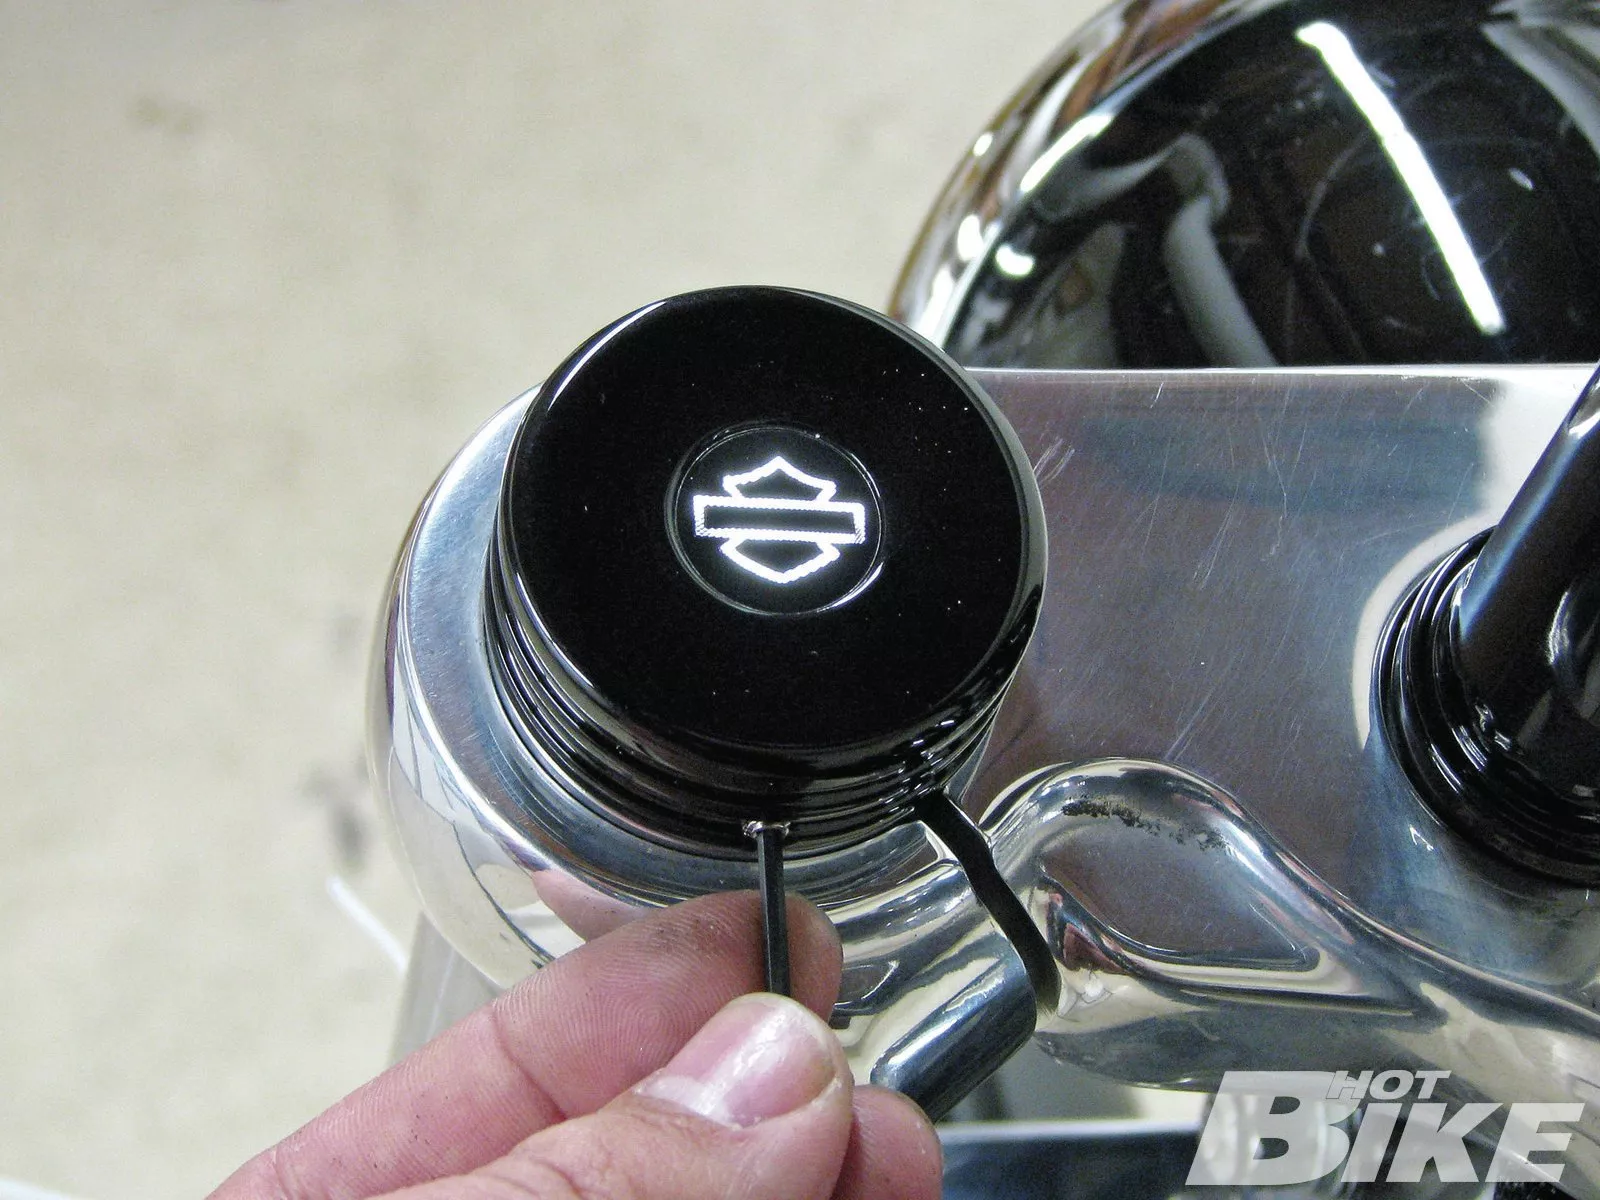
17. Last on our list was dressing up the fork caps and steering head bolt with the Motor Company’s Upper Fork Stem Covers. A setscrew held them in place and the H-D logo was affixed after we had the covers all set.


